


In today’s competitive mobile app landscape, app store downloads and user engagement are the cornerstones of mobile app success.
Integrating AppsFlyer into your Flutter app empowers you with a comprehensive toolkit to boost your app’s visibility and captivate users.
In this comprehensive article, we will delve into the step-by-step process of seamlessly integrating AppsFlyer into your Flutter app. By doing so, you can significantly enhance app store downloads and elevate user engagement. But first, let’s understand the significance of AppsFlyer.
Understanding AppsFlyer
AppsFlyer is a cloud-based platform that empowers app marketers with advanced tools for campaign management, conversion tracking, and marketing analytics.
Key Features:
Customer journey mapping
Attribution modeling
Audience segmentation
Social media metrics tracking
Retention monitoring
Let’s Get Started:
Before diving into the integration process, let’s initiate the journey by creating an AppsFlyer account.
Step one: Account Creation
To get started with account creation on AppsFlyer, visit https://www.appsflyer.com/start/

Fill in the necessary information to create your account.
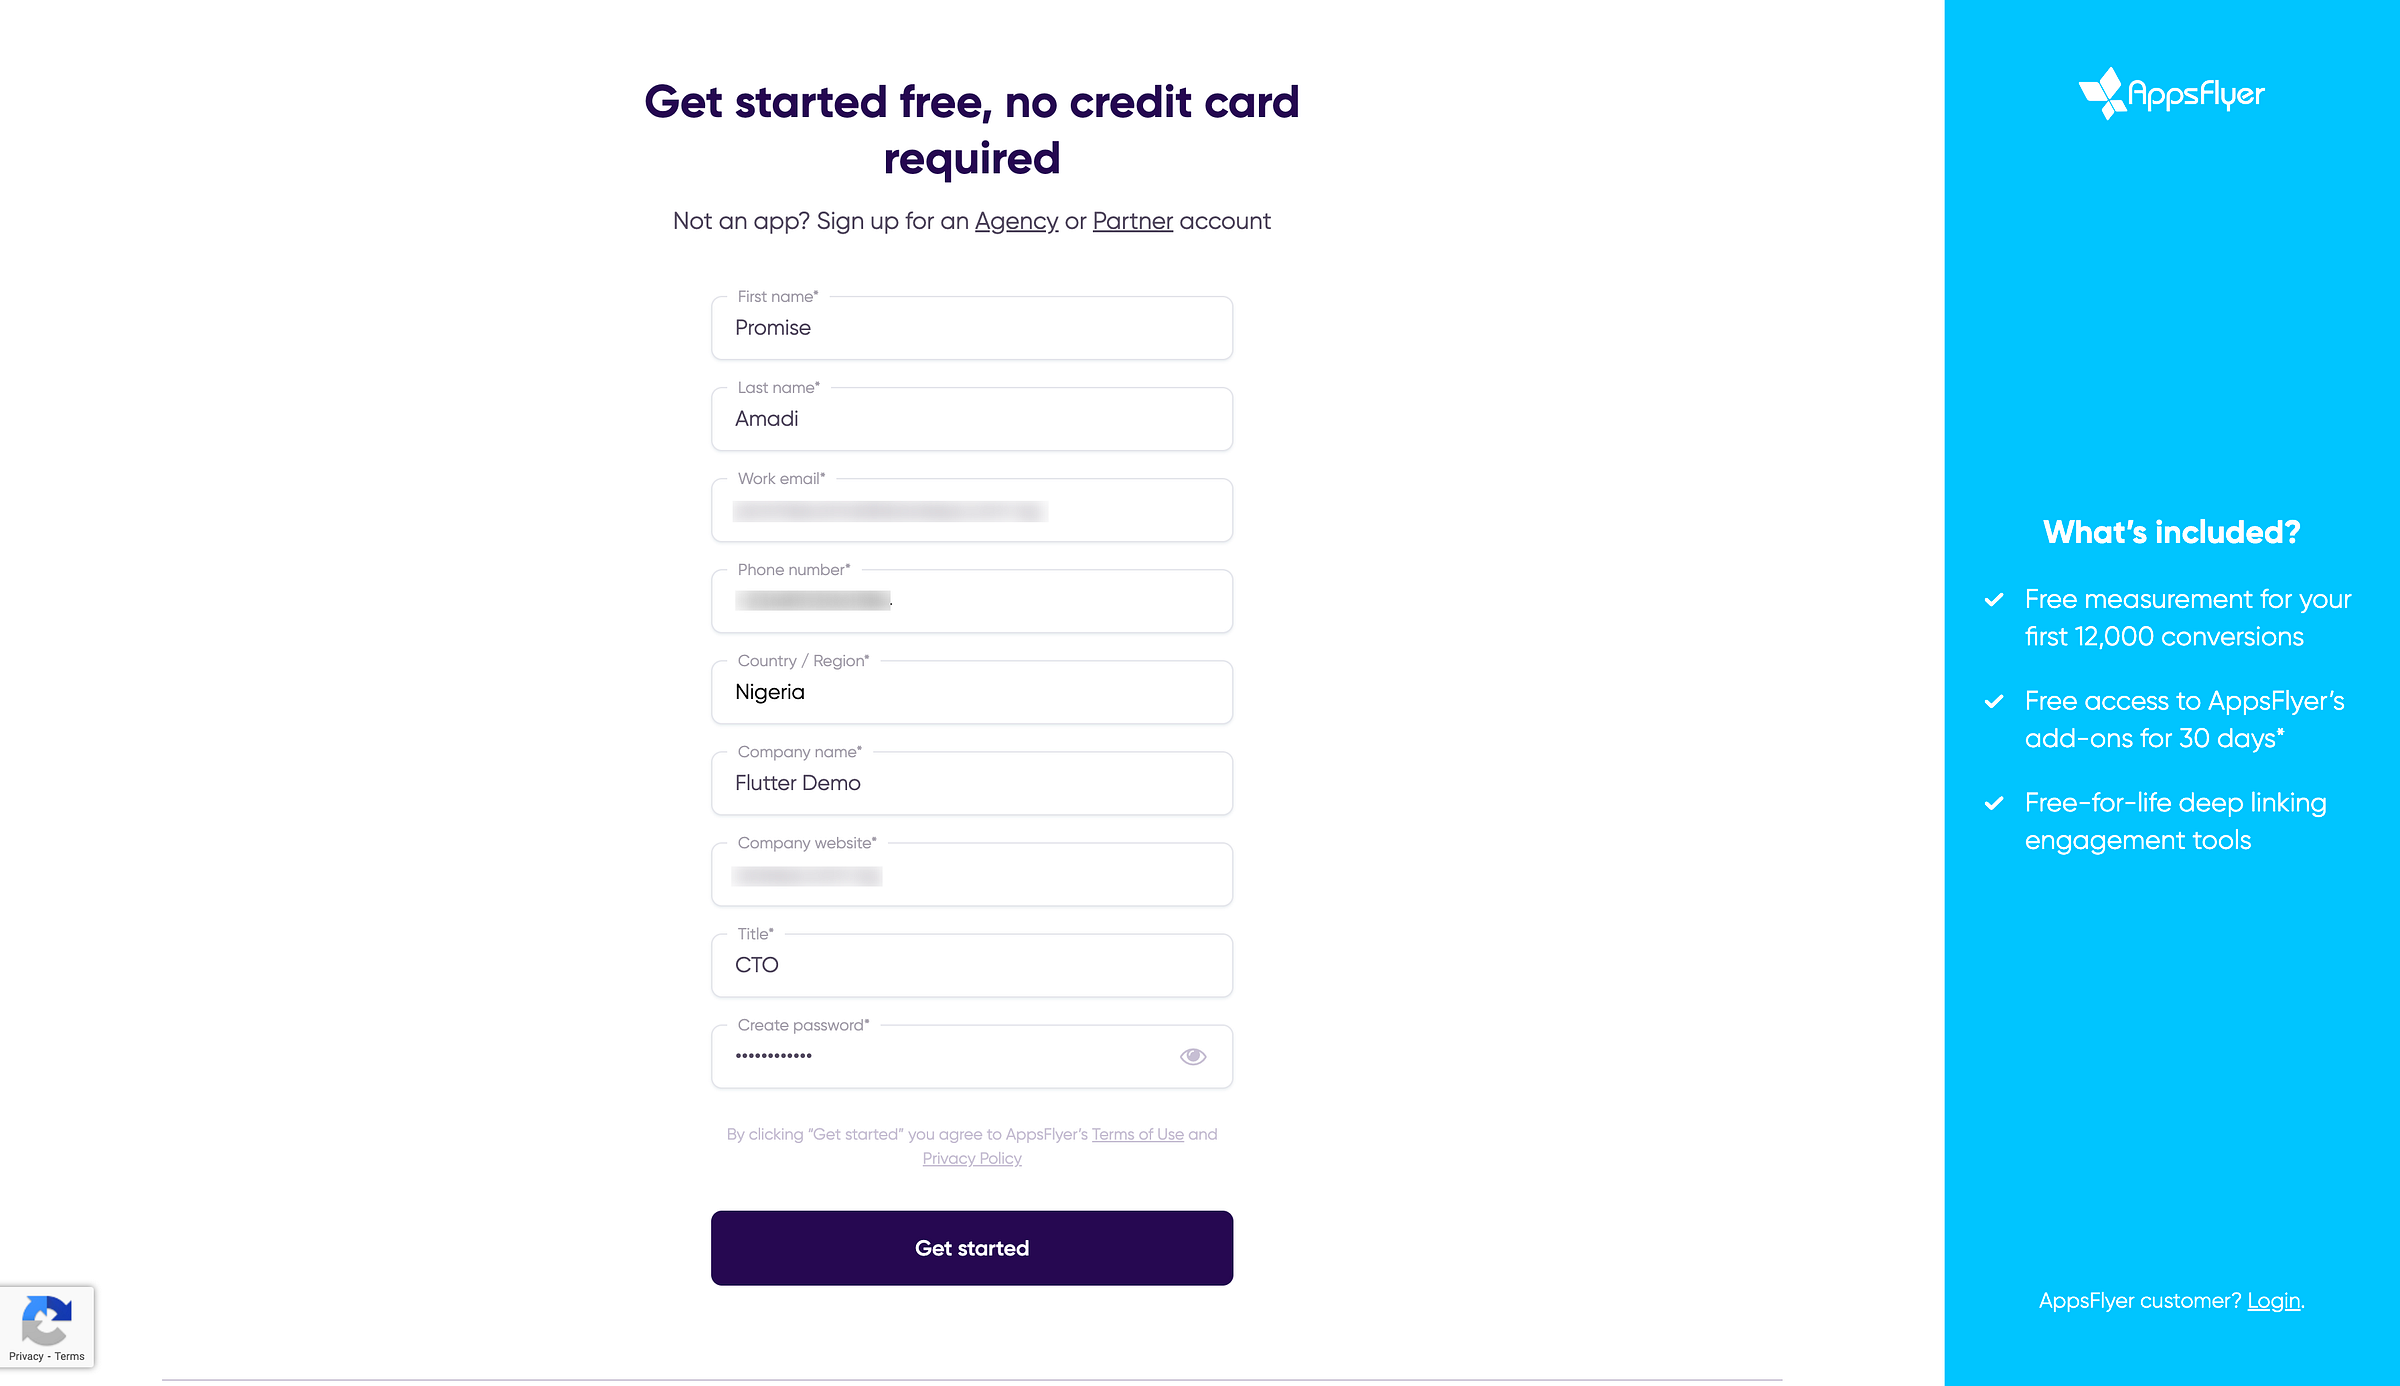
A confirmation mail with an activation link will be sent to your provided email address.

Go to your provided email inbox and click on the activation link.
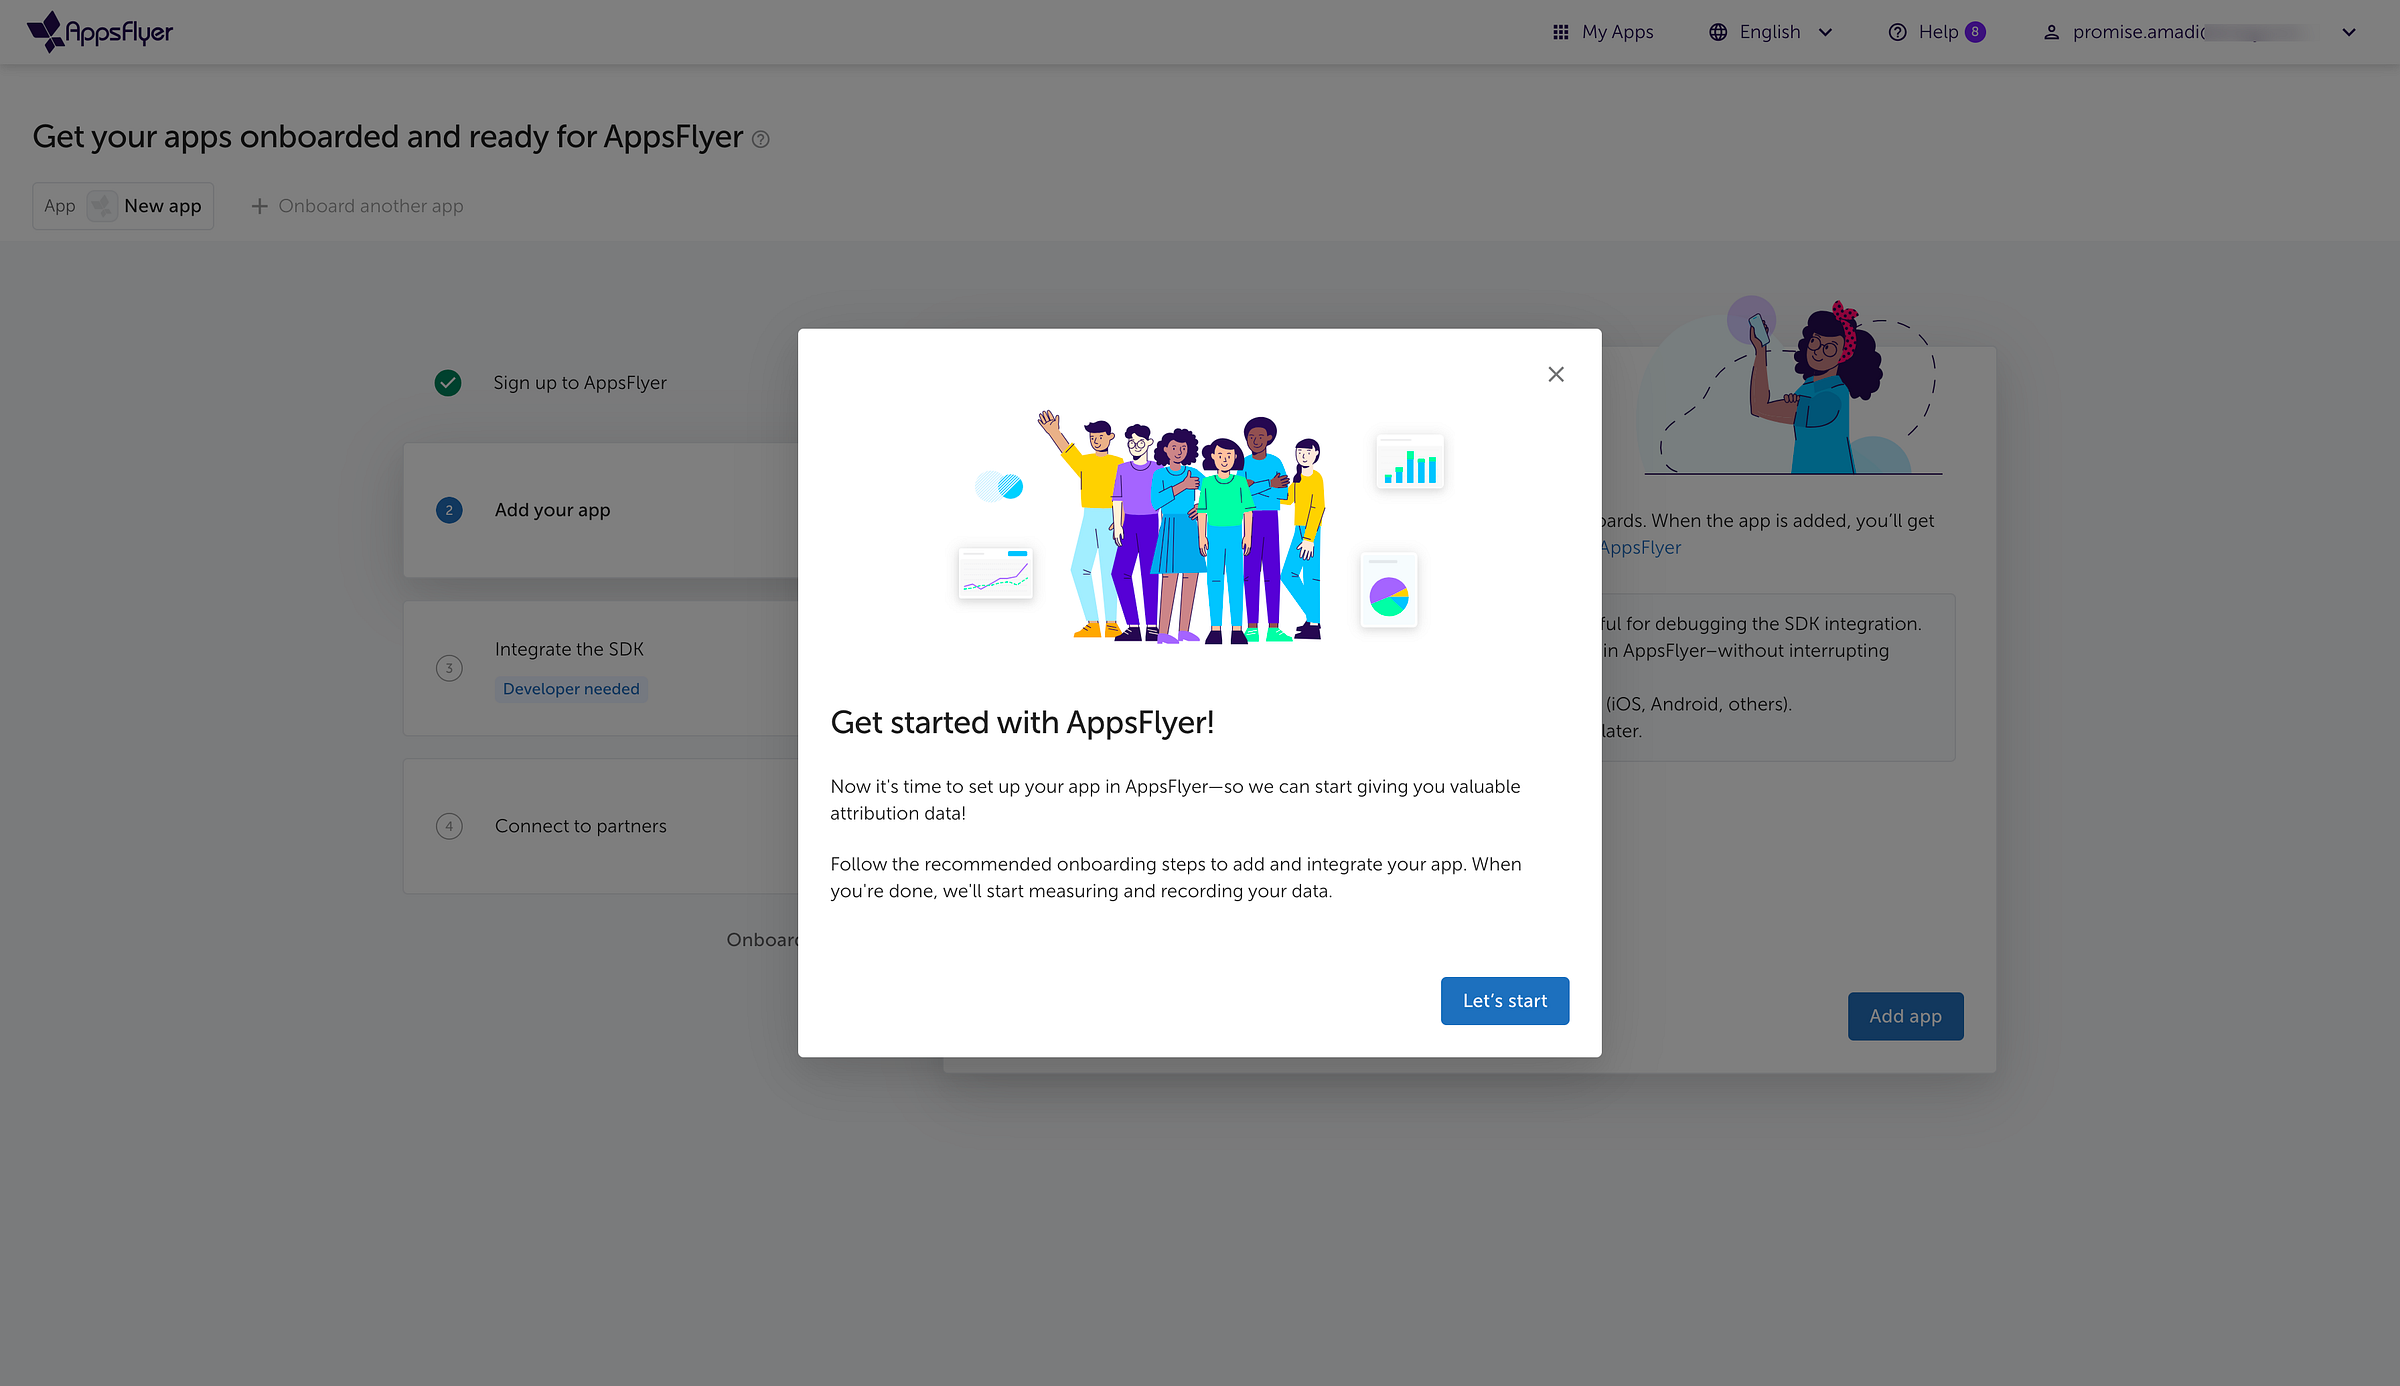
With your account activated, you are now poised to unlock the full potential of AppsFlyer for optimizing your app’s performance and boosting installs.
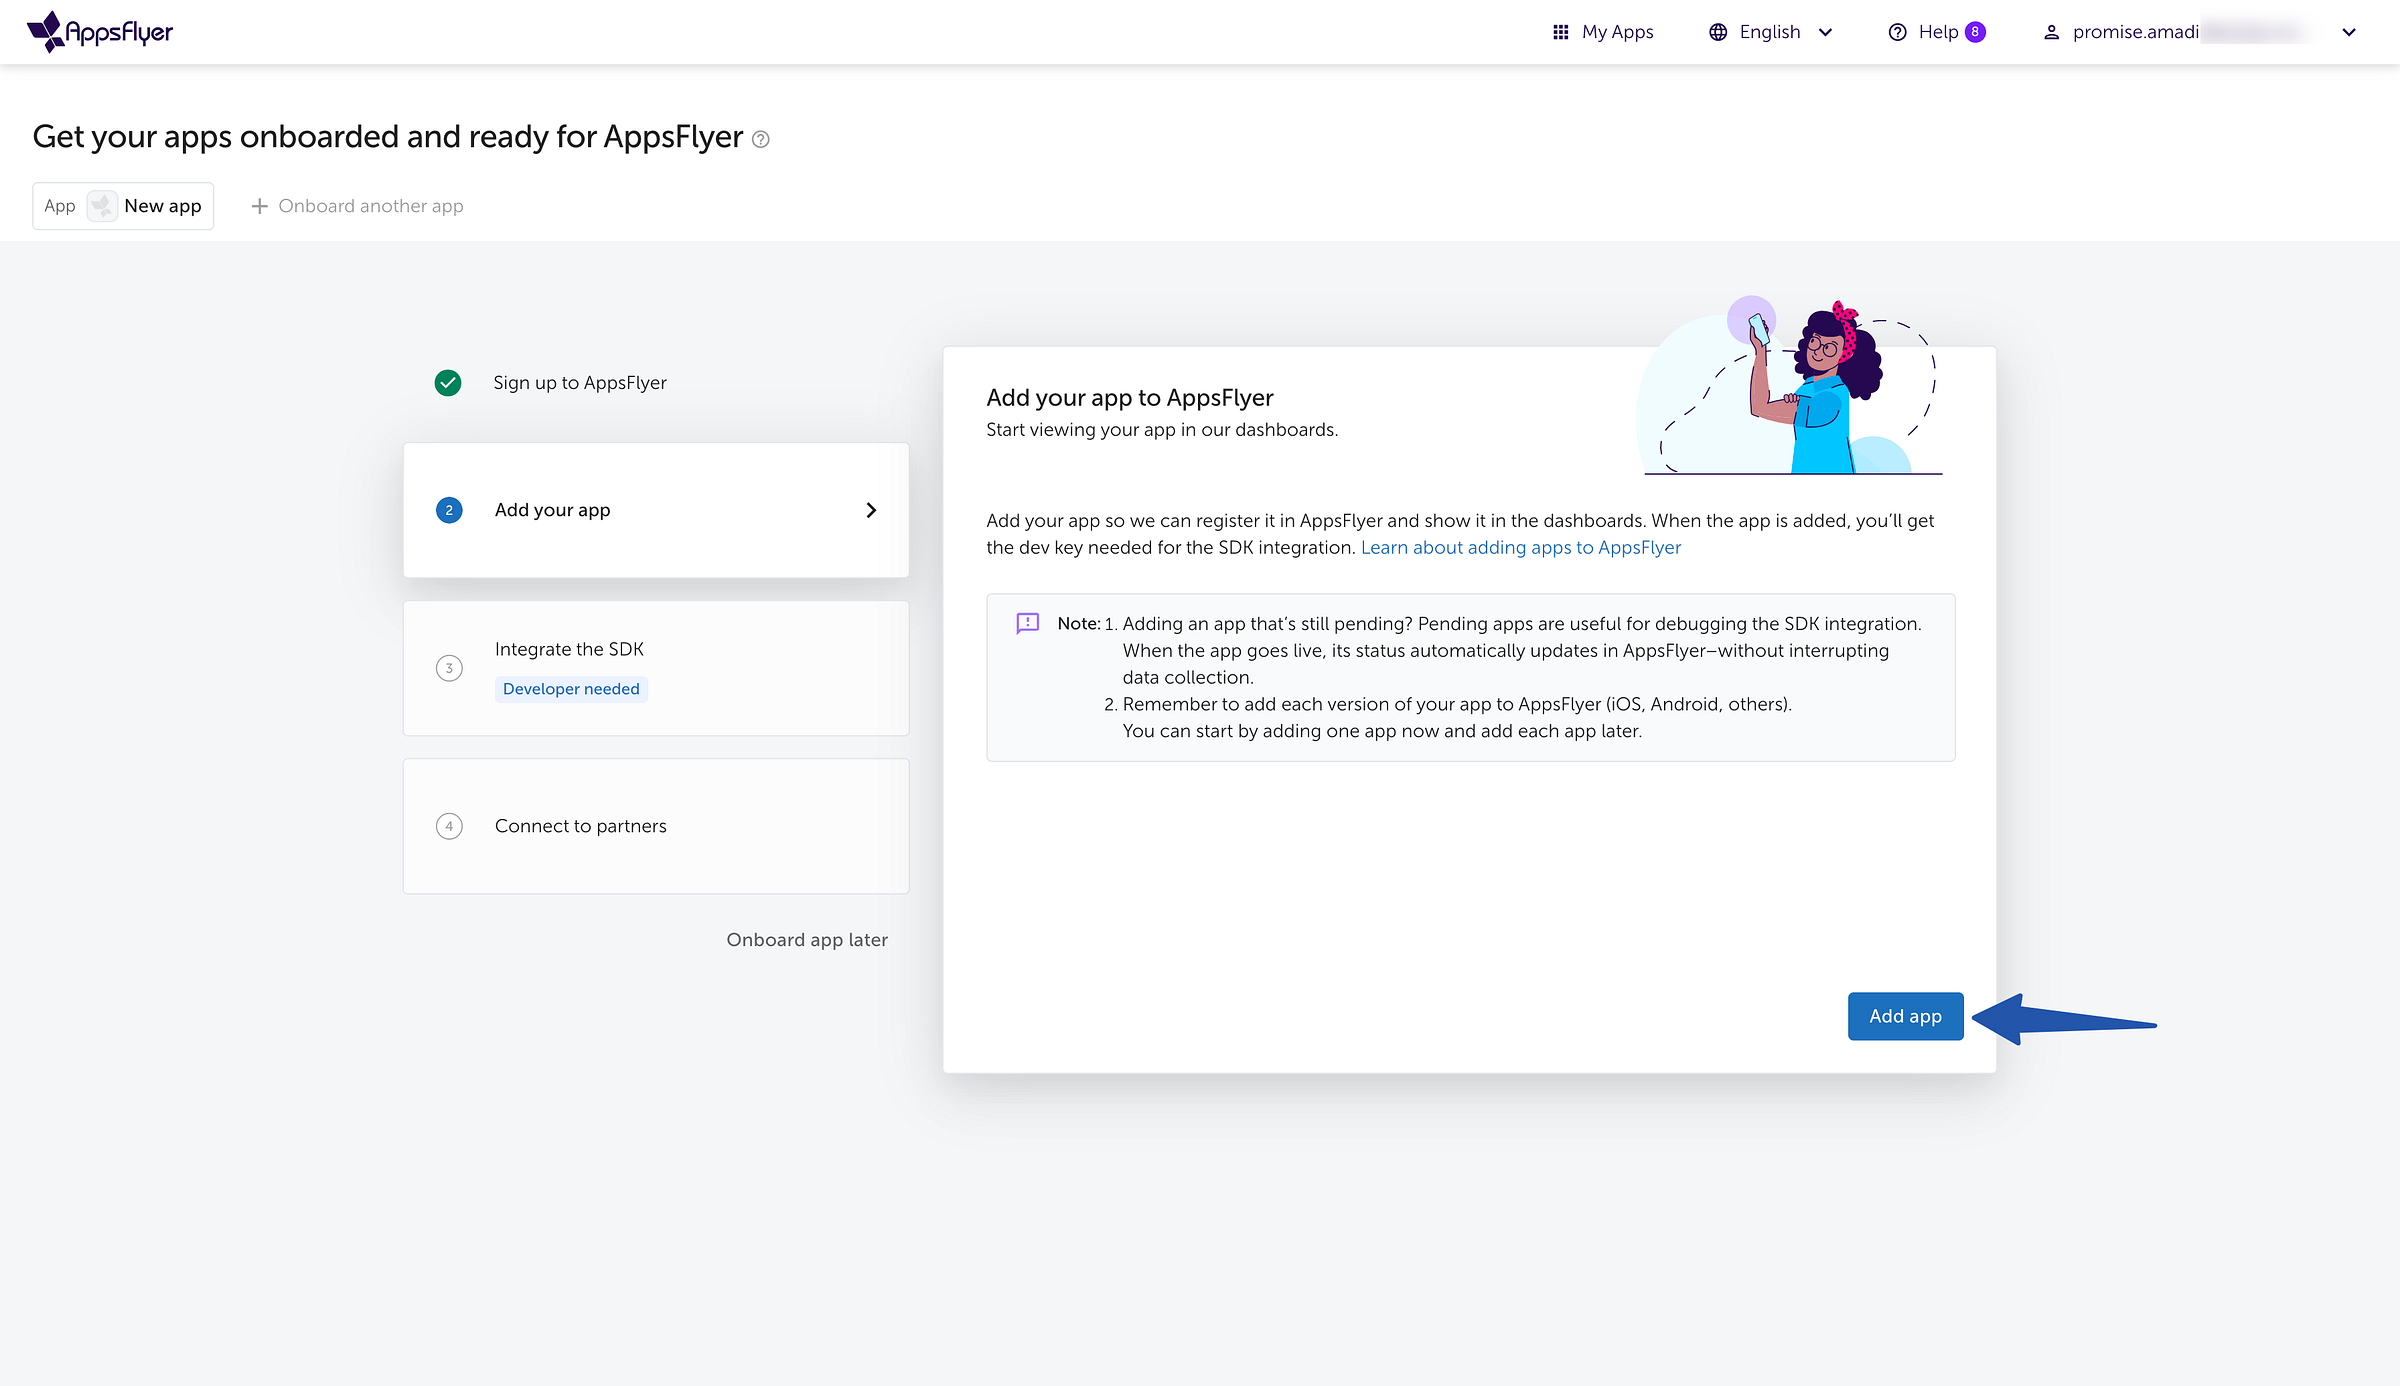
Step two: Connecting Android Apps
Click on “Add app”
Select Android, AndroidTv, Fire
AppsFlyer will inquire about your app’s Google Play status. You have three options:
In-store — This means that your app is published and available on Google Play Store.
Pending approval/not published — This means that your app is not yet published.
3rd-party store/out-of-store — This means that your app has been published and is available on the Amazon app store or APK mirror.
We are going to select the “In-store” app status option and enter our app Google Play Store link on the field provided.

Click on the “Next” button
Set your country currency, time zone, and indicate whether your app is directed towards children or not.
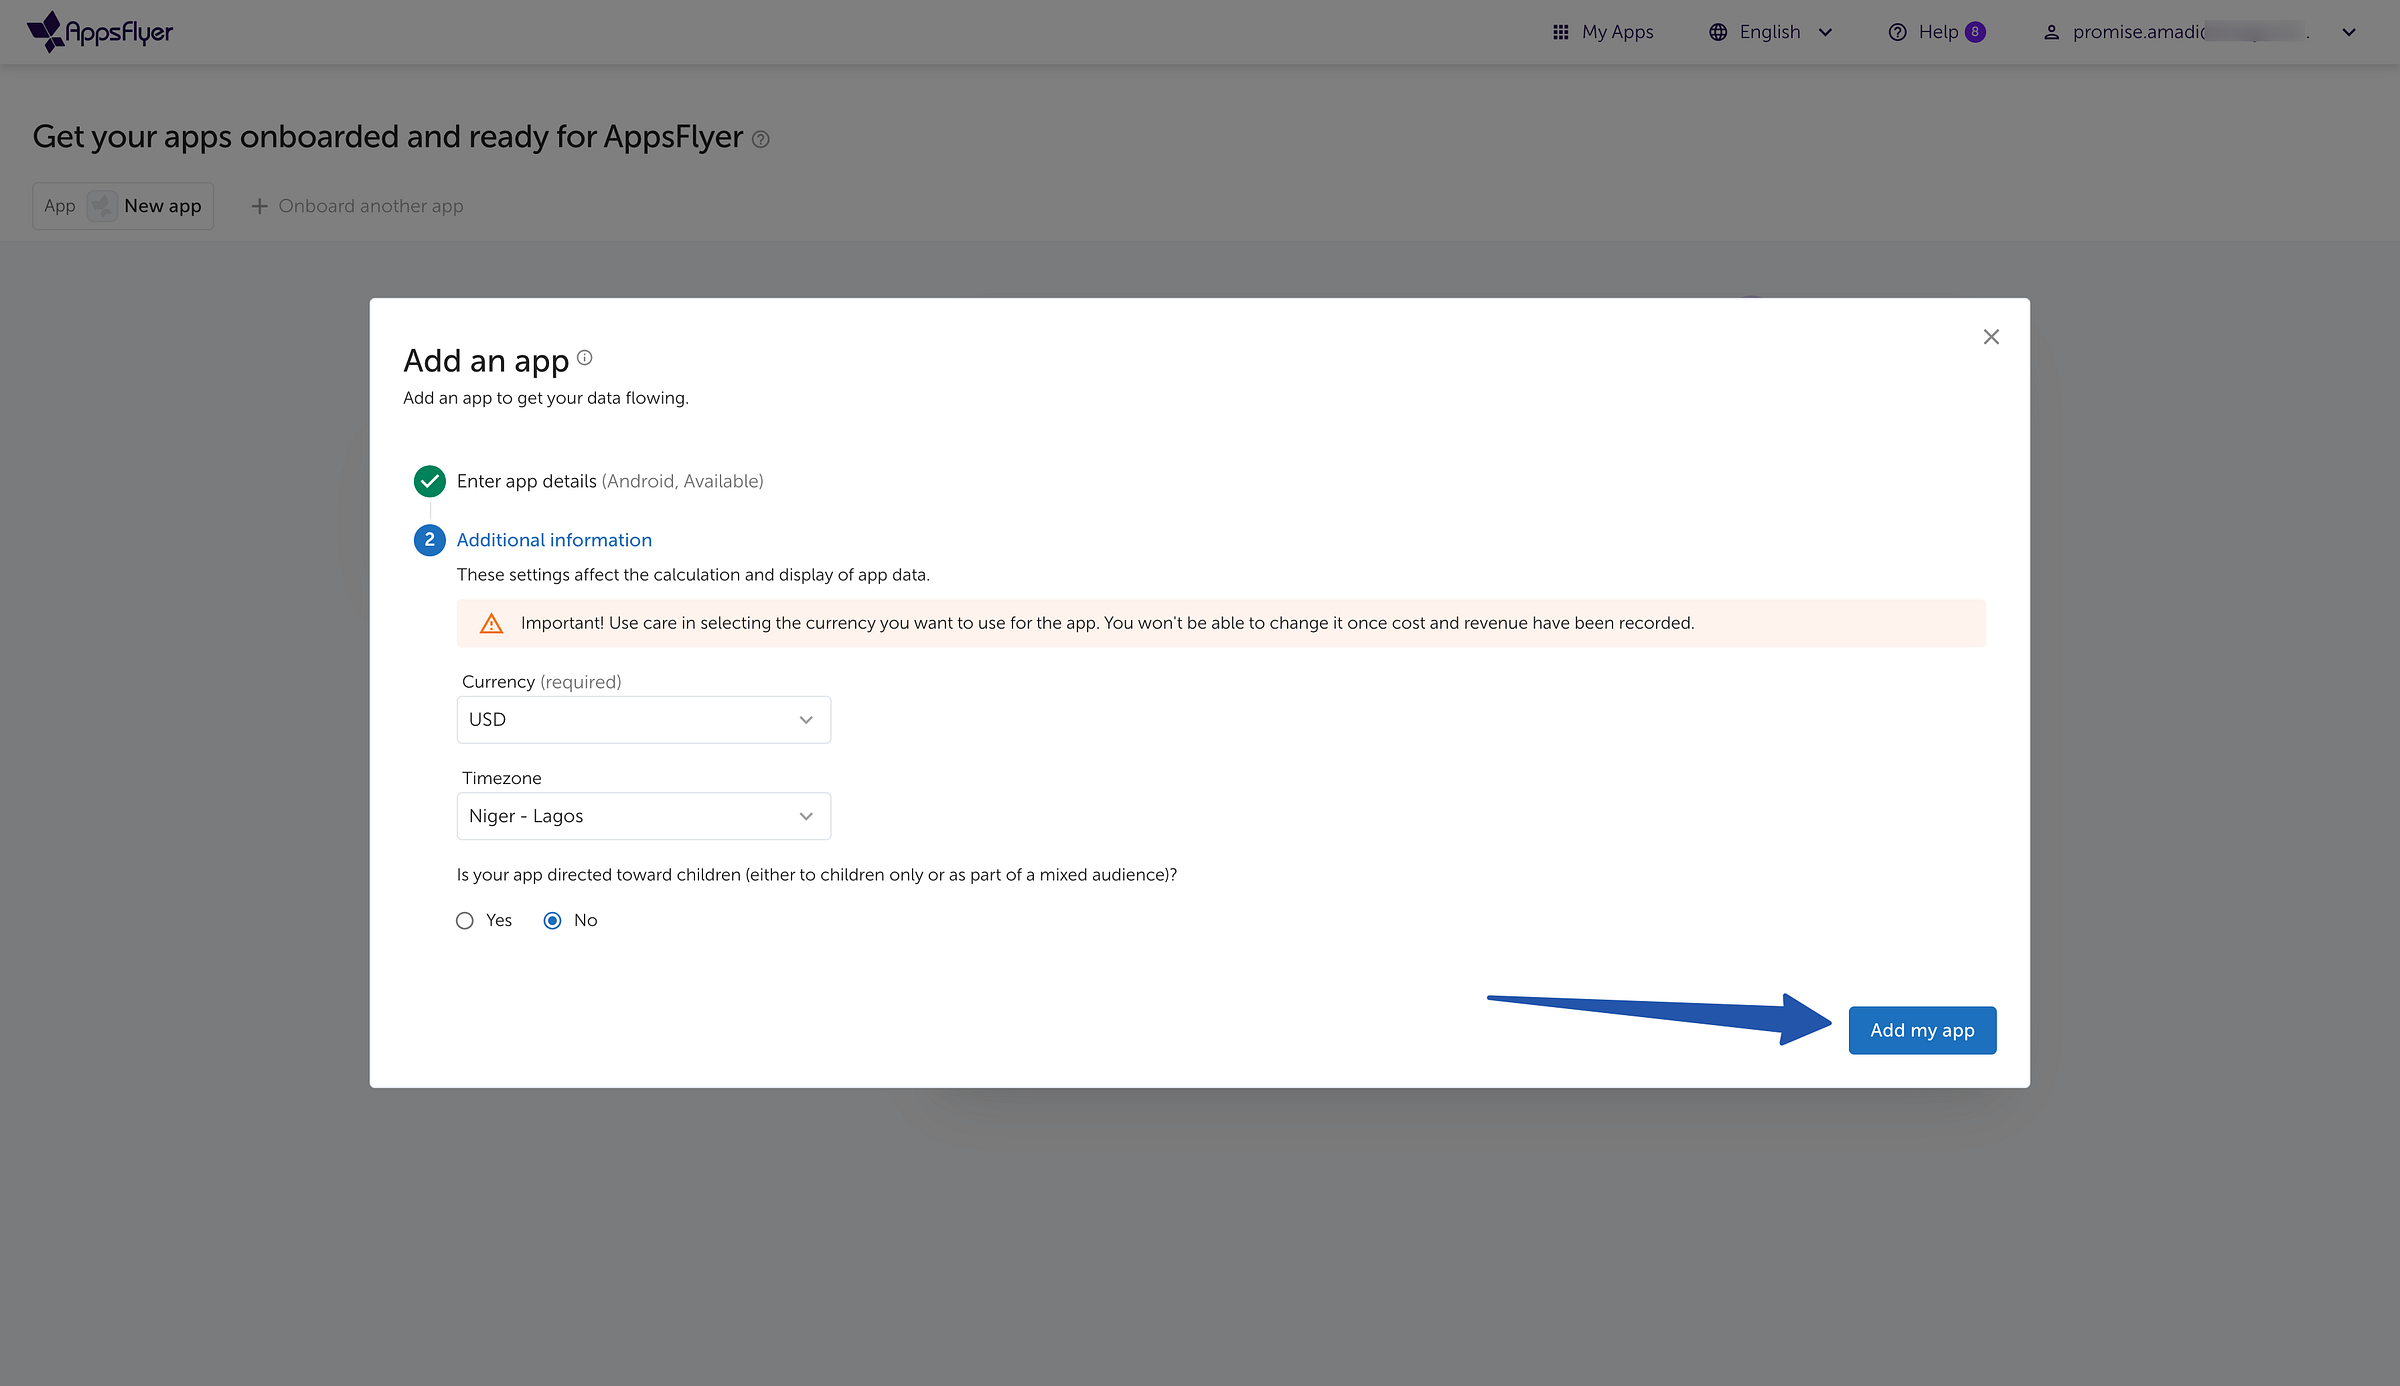
- Click “Add my app” to complete the connection.
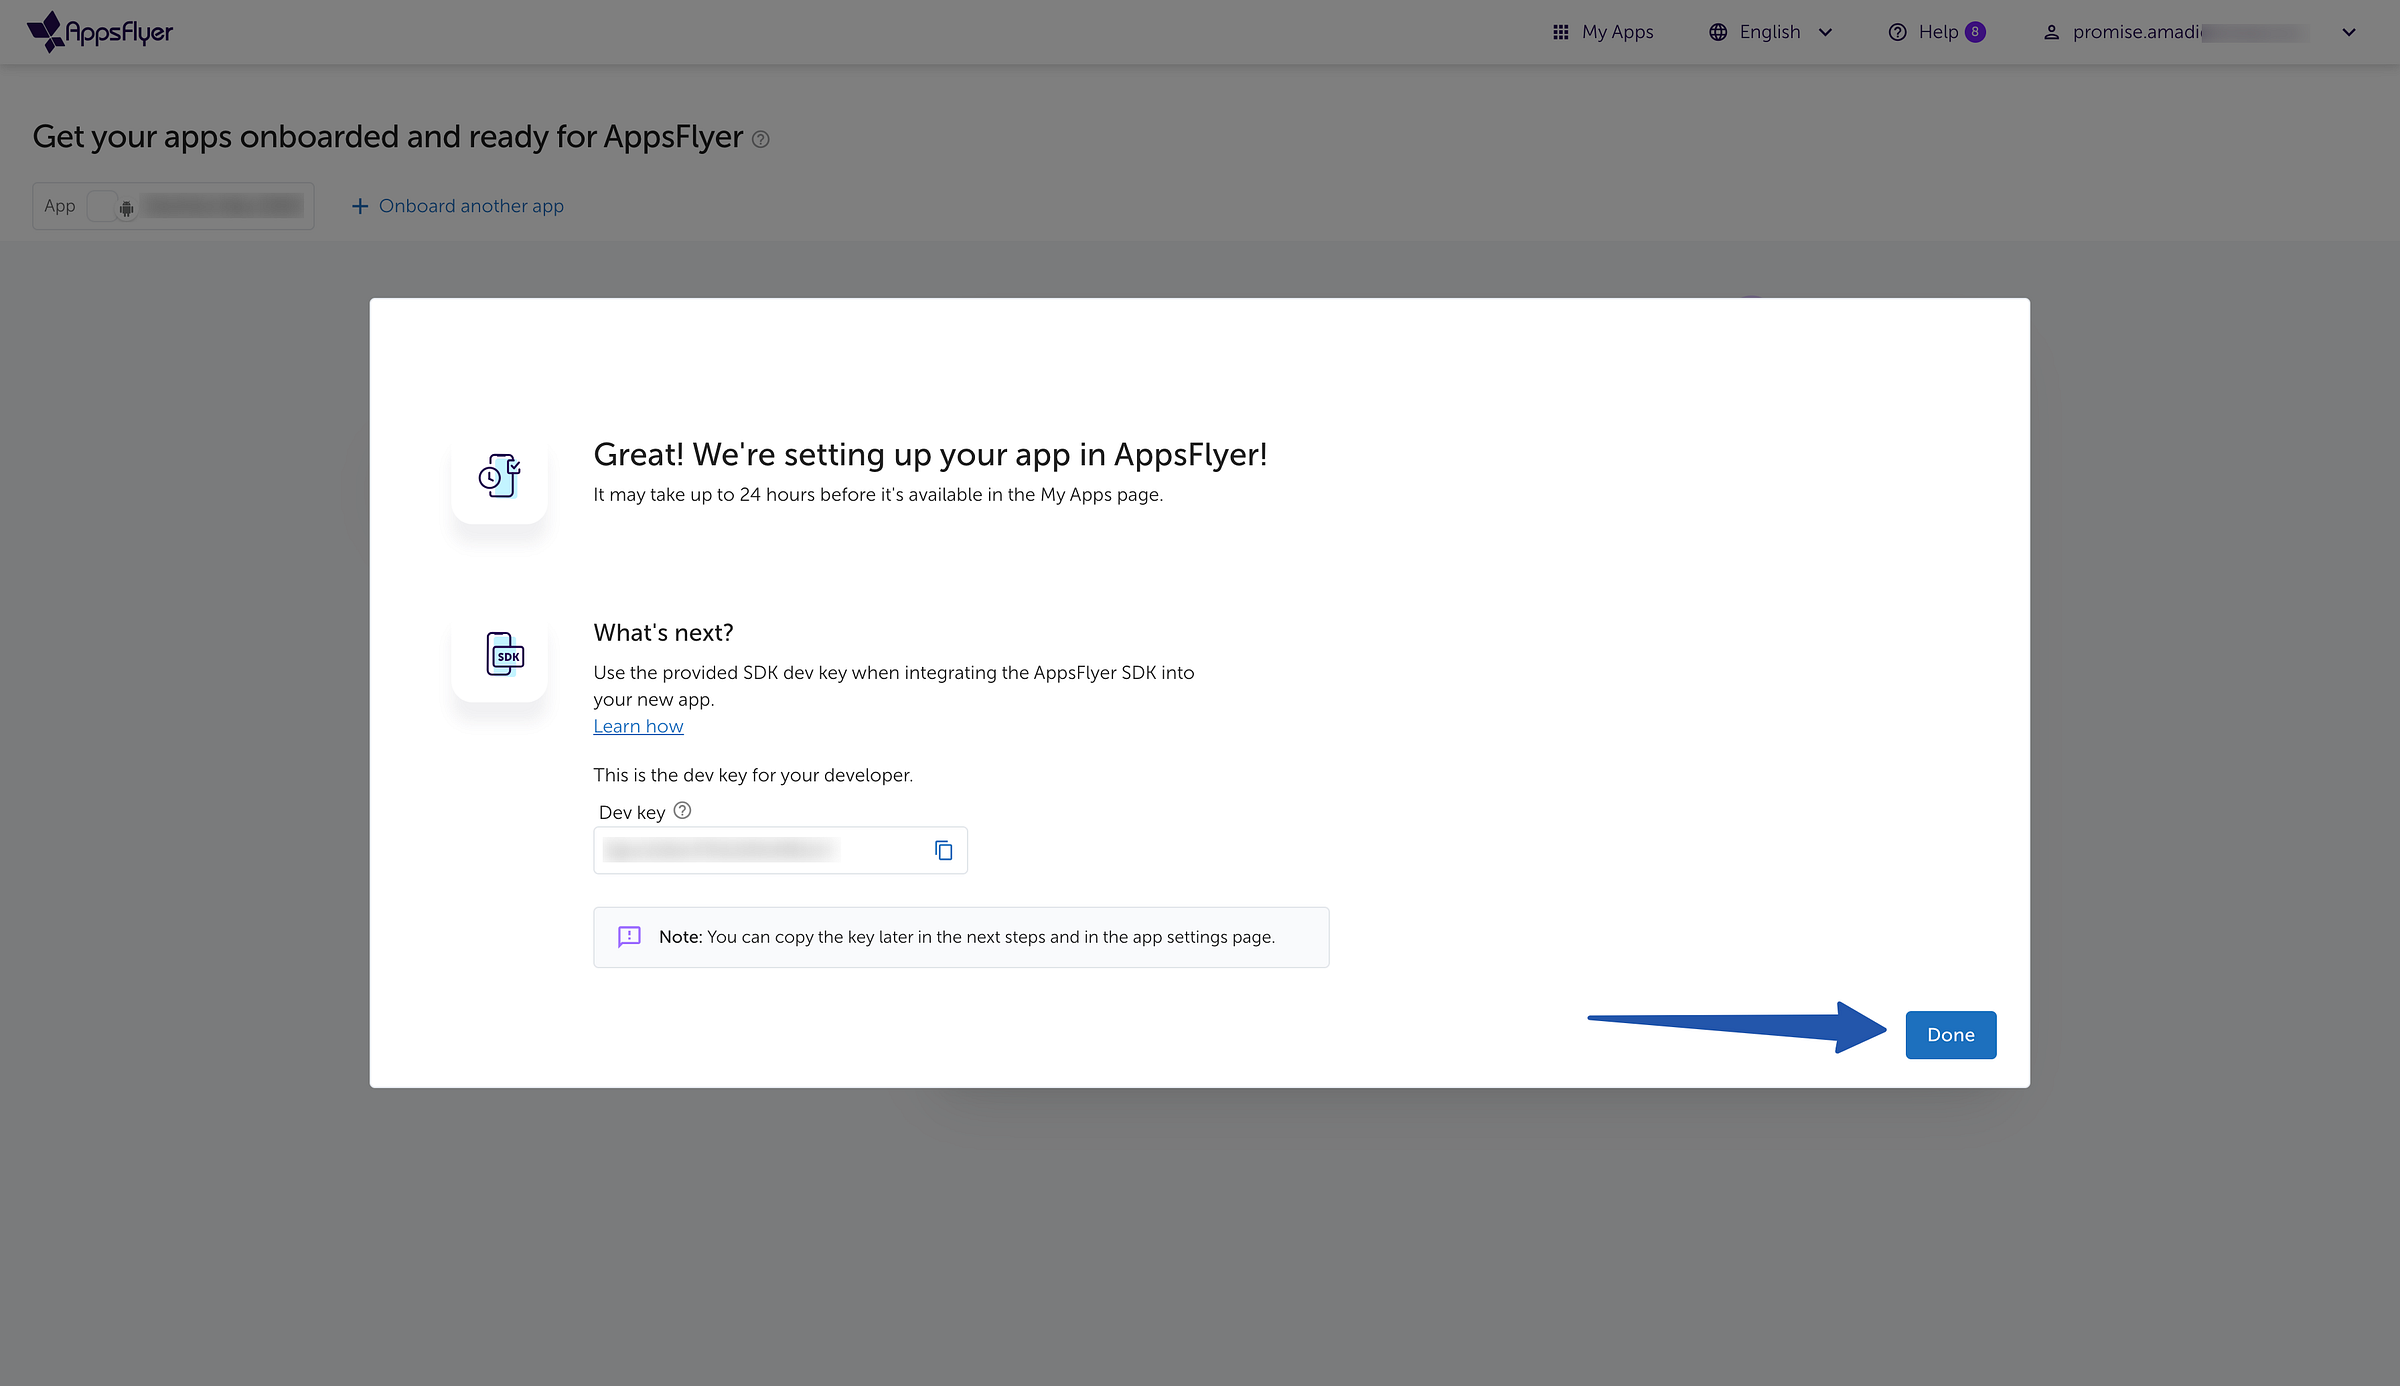
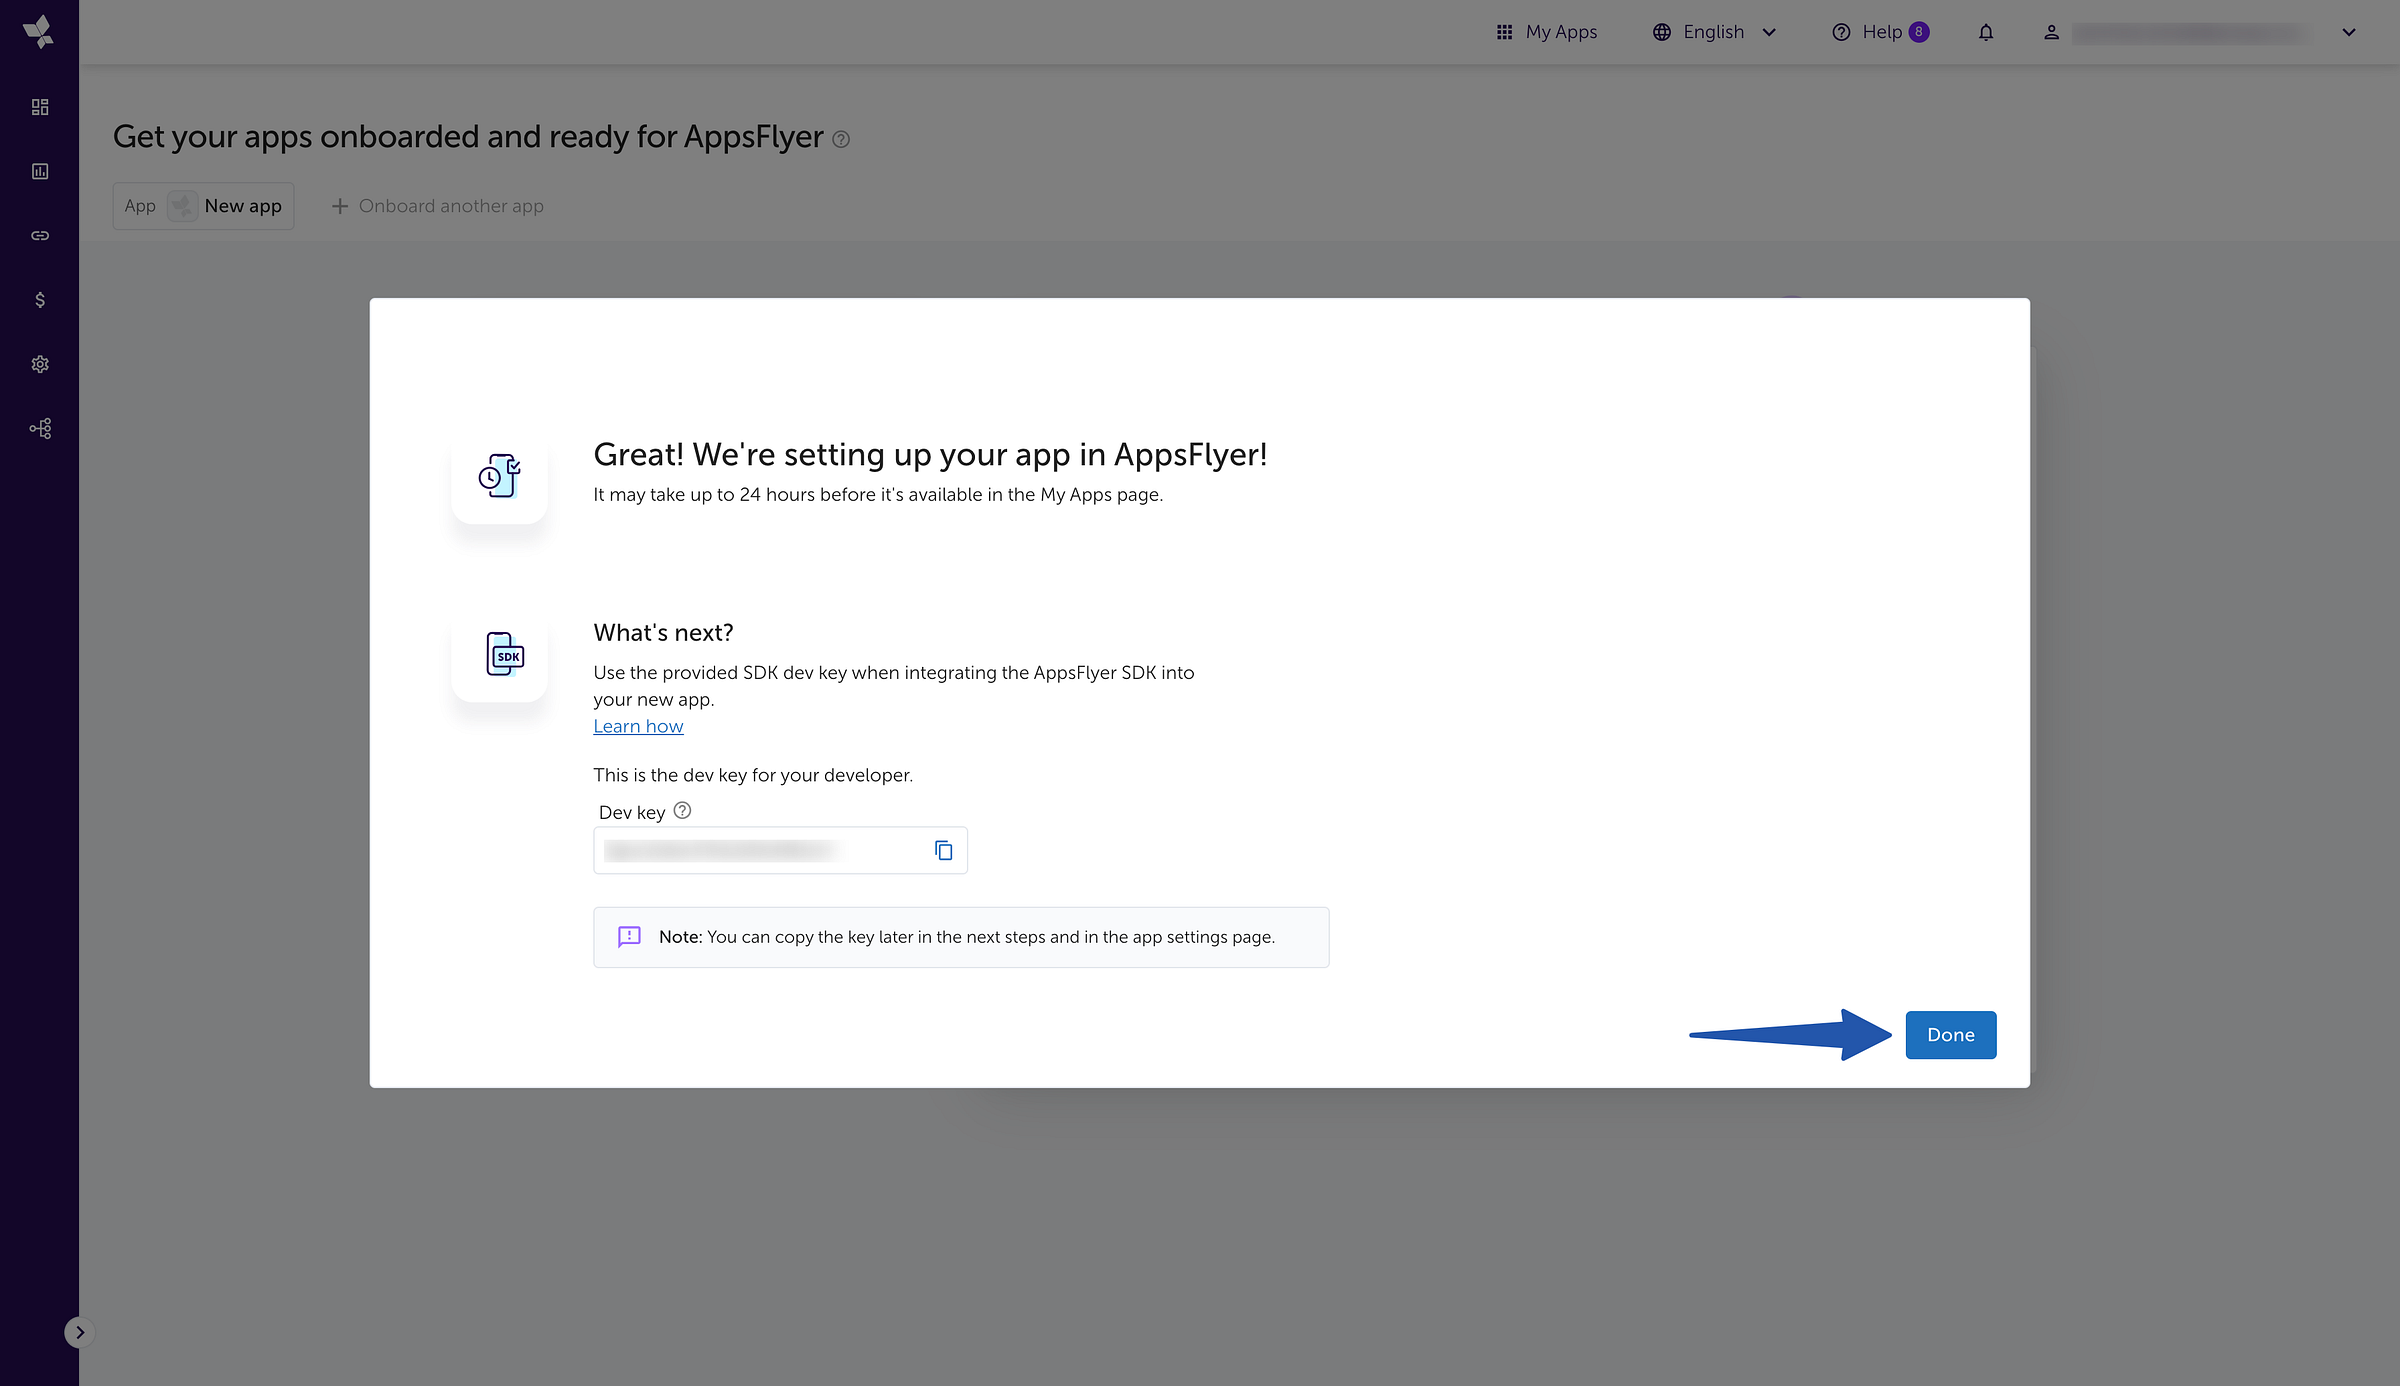
Congratulations! Your Android app is now successfully connected to AppsFlyer, and you’ll receive your AppsFlyer Dev key.
Please note: Store your AppsFlyer Dev key securely within your app.
Step three: Connecting iOS Apps
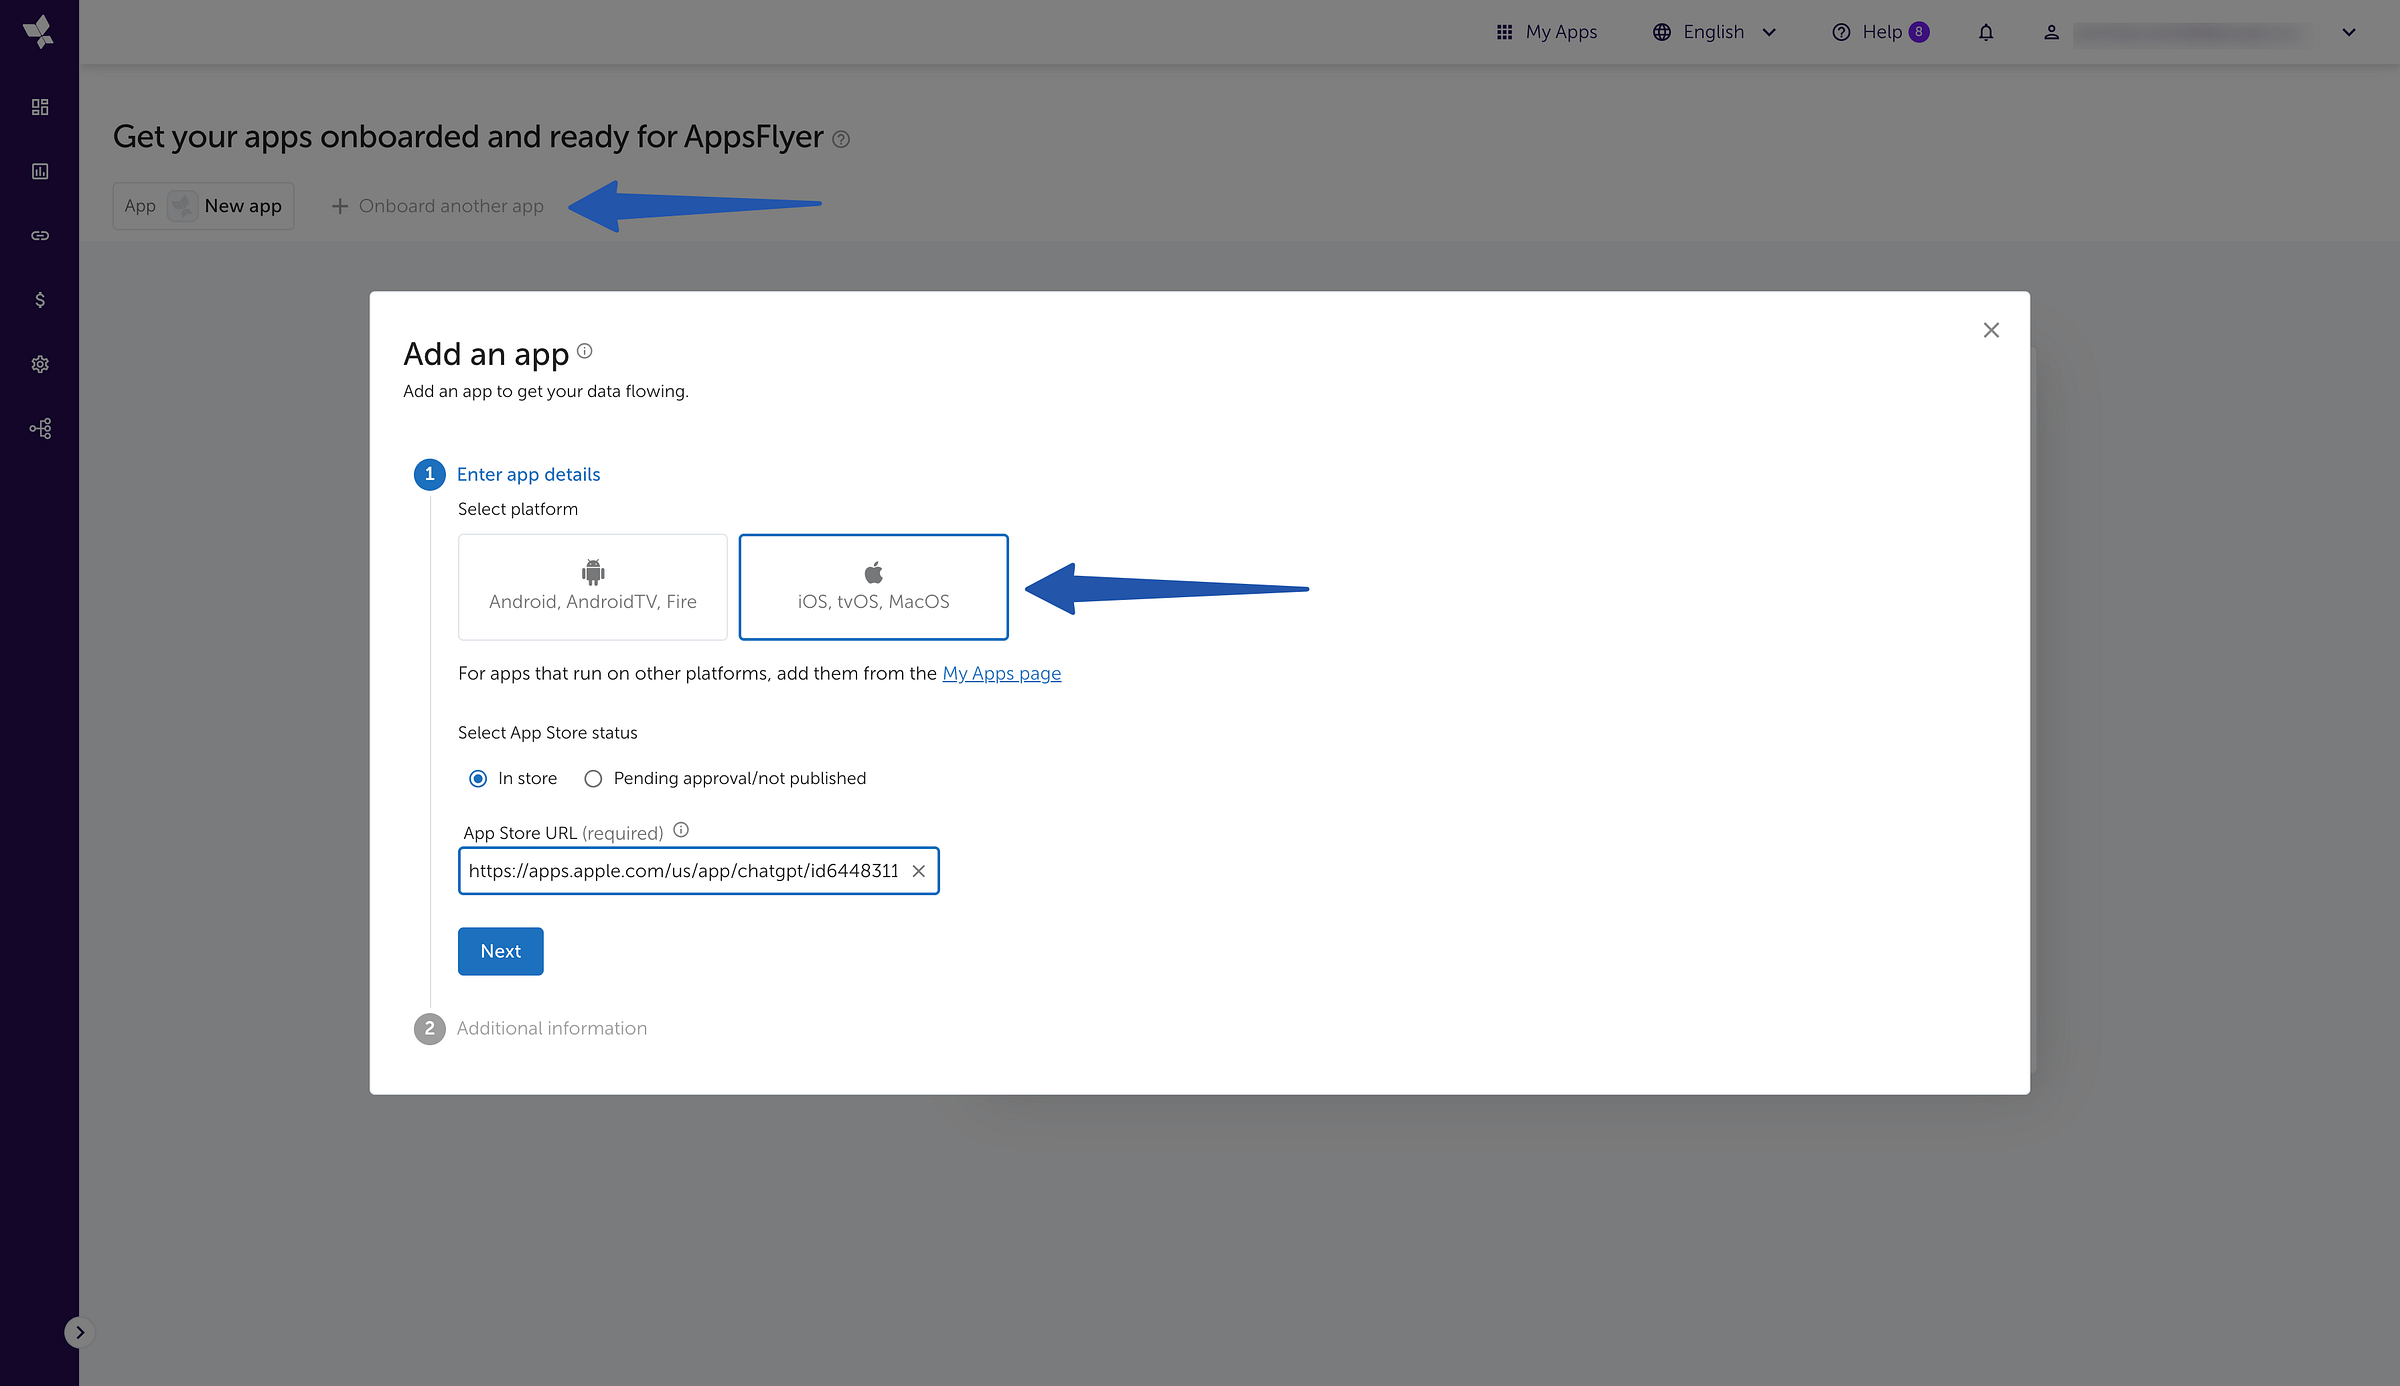
Click on “Onboard another app” and select “iOS, tvOS, MacOS.”
Choose the “In-store” app status and enter your app’s App Store link and click “Next.”
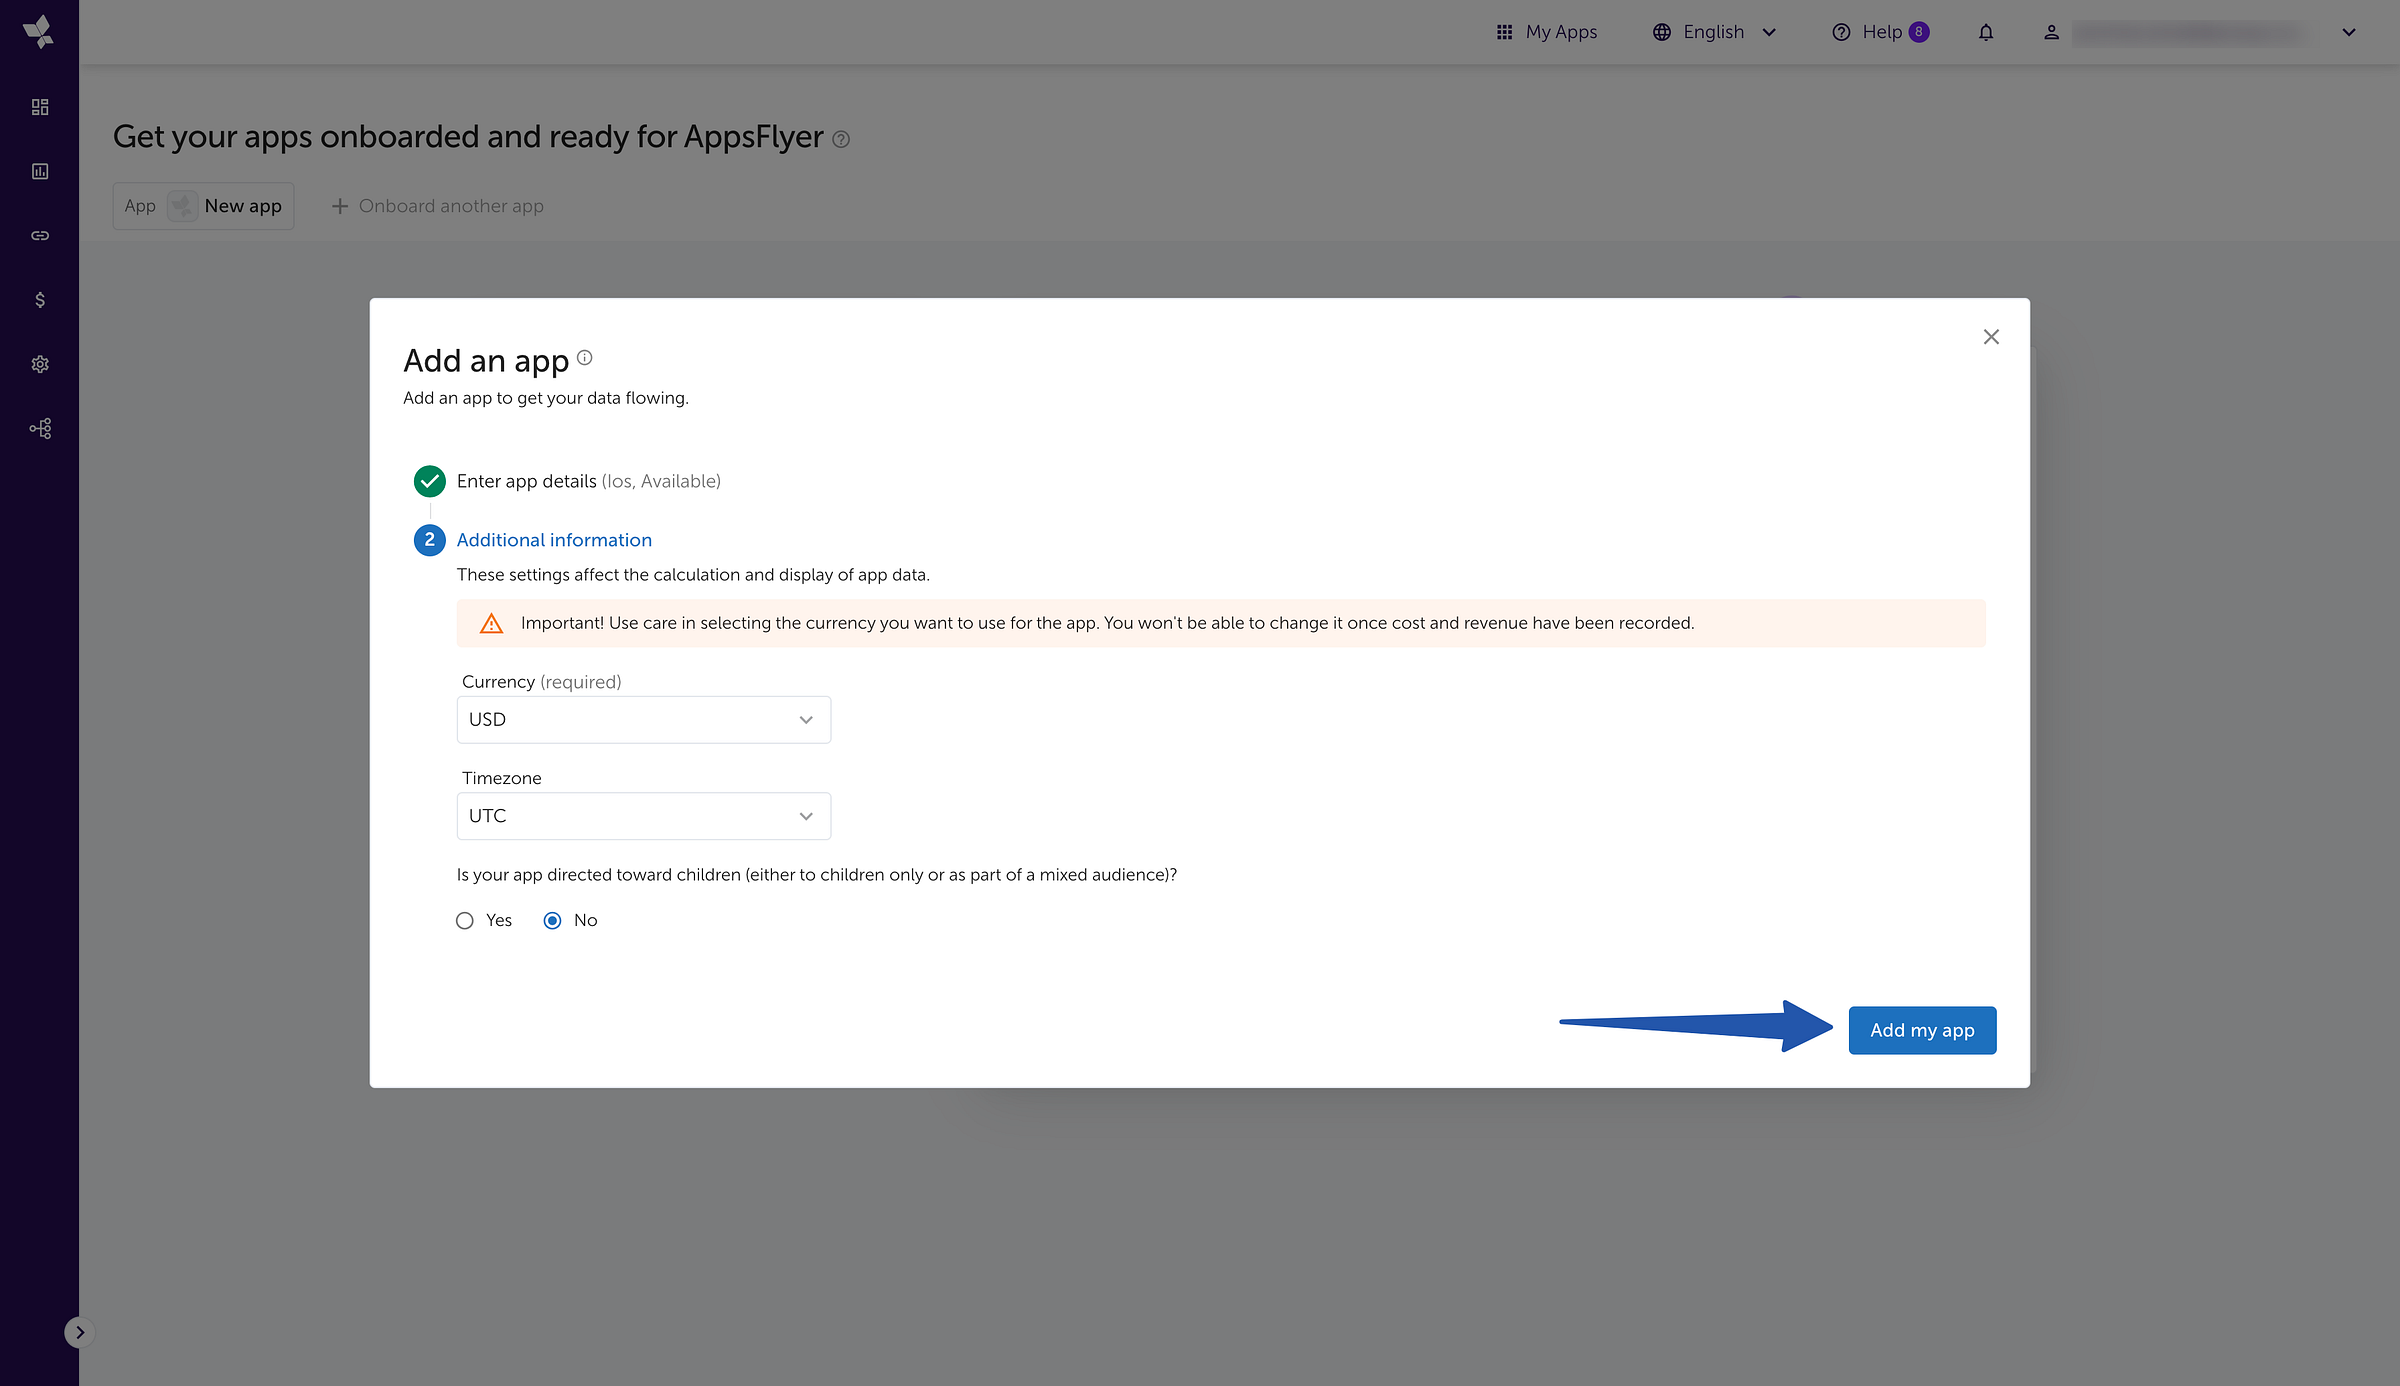
Set your country currency, time zone, and specify if your app is directed towards children or not.
Click “Add my app” to complete the connection.
Congratulations! Your iOS app is now successfully connected to AppsFlyer, and you’ll receive your AppsFlyer Dev key.
Step four: Integrating AppsFlyer SDK into Your Flutter App.
Create a new flutter project using Visual Studio, IntelliJ, or Android Studio.
After successfully creating a new flutter project, Open “pubspec.yaml”, and install appsflyer_sdk and app_tracking_transparency plugins.
dependencies:
  appsflyer_sdk: ^6.12.2
  app_tracking_transparency: ^2.0.4
Note:
appsflyer_sdkthis plugin will be used to integrate AppsFlyer into our Flutter app whileapp_tracking_transparencywill be used to display iOS tracking authorization dialogue and request permission to collect data.
Step five: Setting Up App Tracking Transparency for iOS
Open <project root>/ios/Runner/Info.plist and add the following keys to your Info.plist file
<key>NSUserTrackingUsageDescription</key>
    <string>This identifier will be used to deliver personalized ads to you.</string>
Step six: Code Implementation
In your main.dart file, create a function called initAppTrackingTransparencyPlugin to be initialized on app launch.
Create another function called initAppFlyer for initialization of AppsFlyer on app launch
The final function, logAppFlyerEvent, will be called on a button press or user interactions.
Here is the source code for the project you just worked on.
With AppsFlyer seamlessly integrated into your Flutter app, you can now leverage its powerful features to optimize your app’s performance, boost app installs, and enhance user engagement.
By following these steps, you have successfully integrated AppsFlyer into your Flutter app, paving the way for enhanced app store downloads and user engagement.
If you found this article helpful and educating, please hit the clap button 👏 as many times as you can to show your support!
To get my latest updates and happenings from the world of Flutter, and mobile app development, follow me on Twitter, Facebook, Linkedin, and Github.
My name is Promise Amadi, a writer, and Flutter Developer, collaborating with startups worldwide to build innovative mobile solutions using Flutter.
For Flutter-based project collaborations, feel free to reach out via email at amadipromise07@gmail.com.