

Your days of experiencing deadends when it comes to working on an engaging layout as a software developer are over.
In this write-up, you will learn how to build a hitch-free and adaptive layout with Flutter.
As part of the tools for this writeup, you are going to use a flutter package called responsive_grid.
Brief Introduction
A responsive grid layout can be said to adapt to different screen size, and orientation, ensuring consistency across layouts.
Please note that the responsive grid layout works the same way as the Bootstrap web framework.
Responsive grid properties include:
- xs stands for extra small (for phones — screens less than 768px wide)
- sm stands for small (for tablets — screens equal to or greater than 768px wide)
- md stands for medium (for small laptops — screens equal to or greater than 992px wide)
- lg stands for large (for laptops and desktops — screens equal to or greater than 1200px wide)
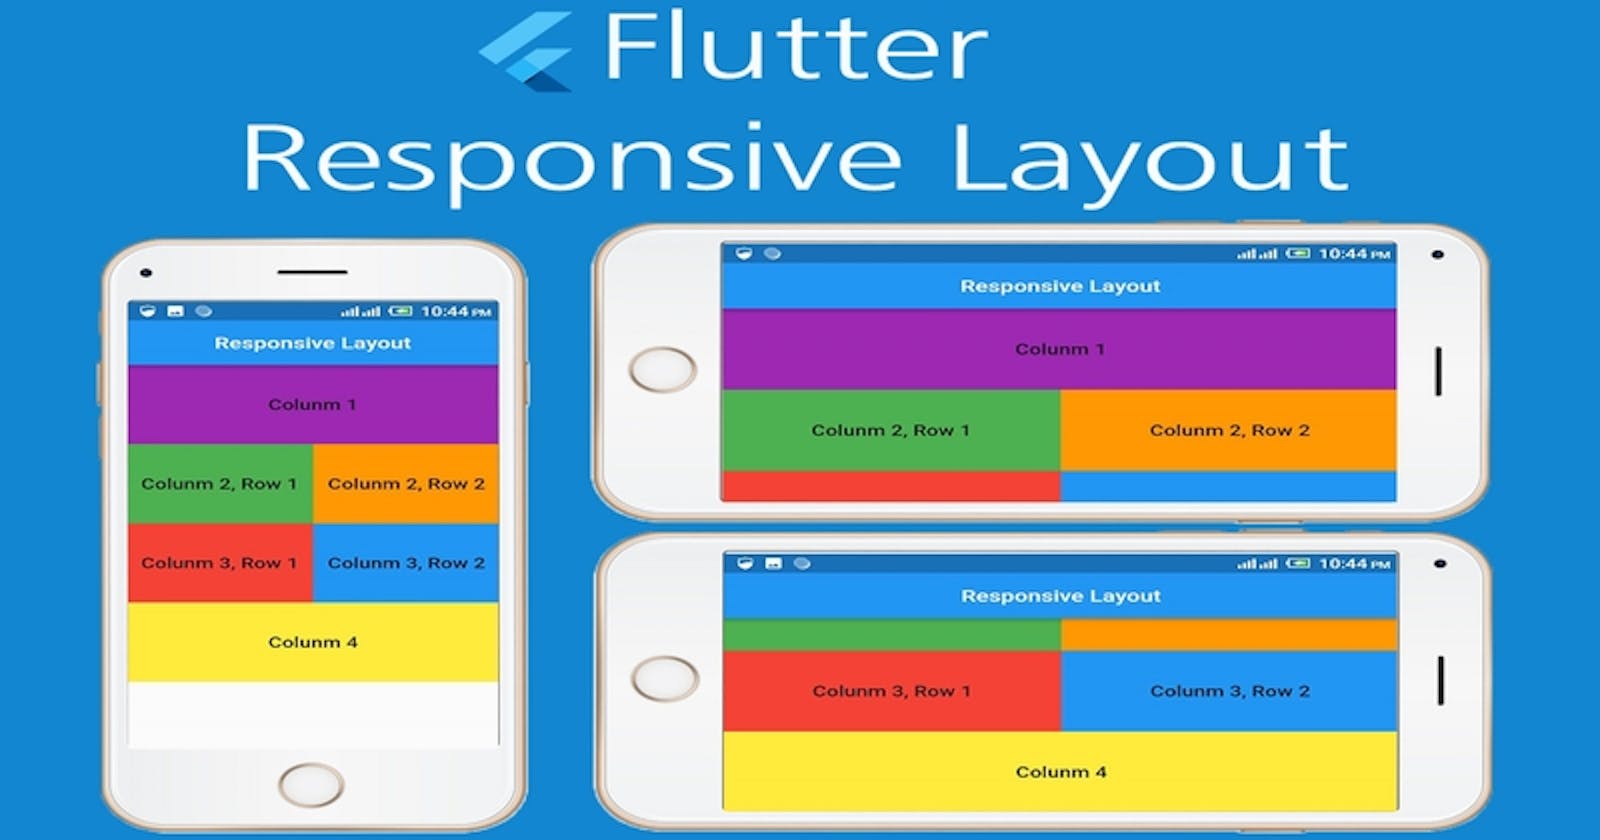
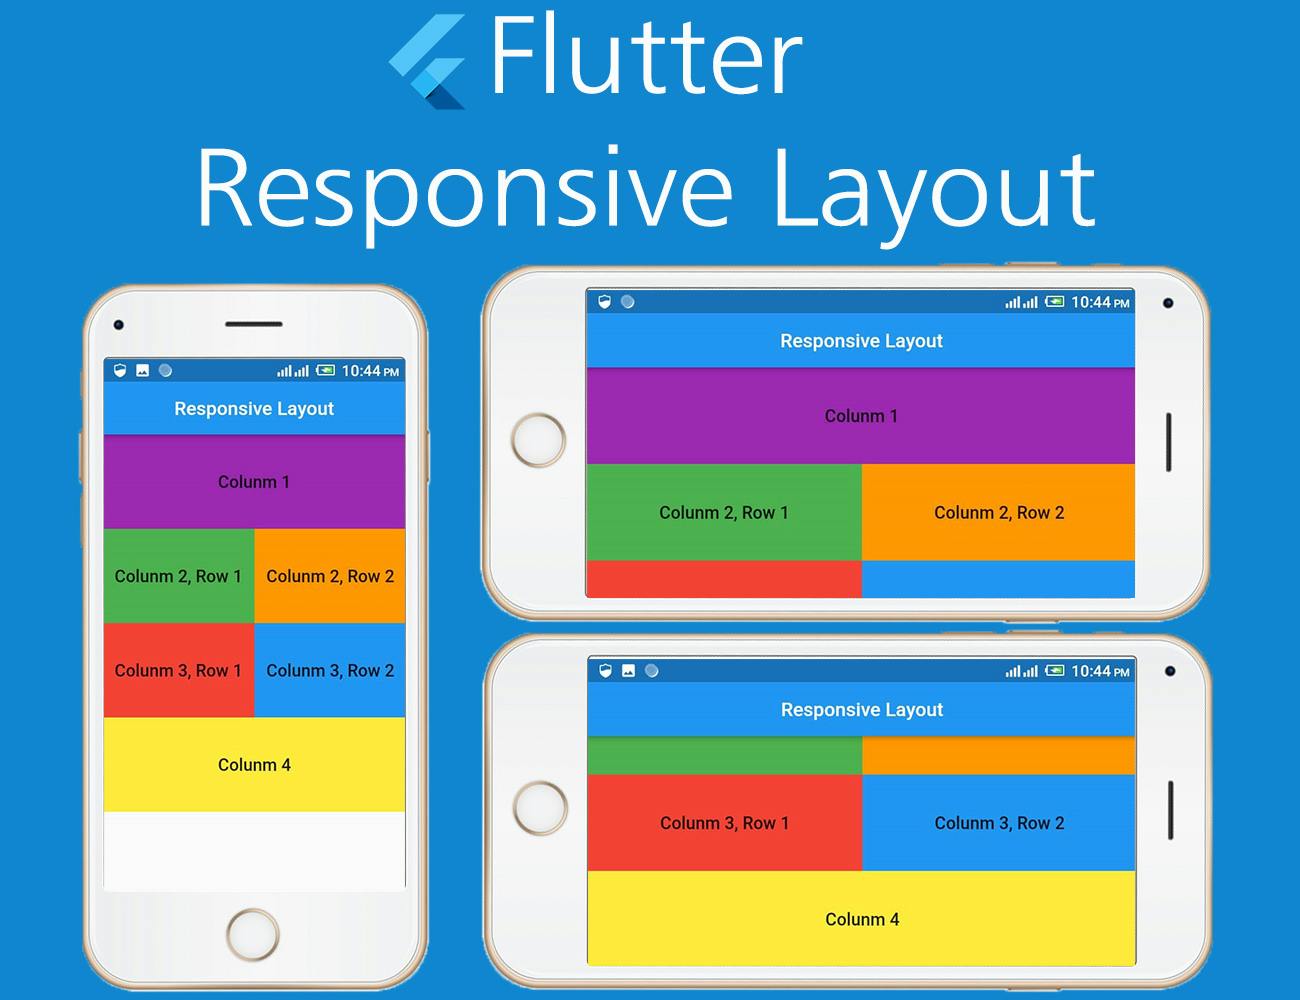
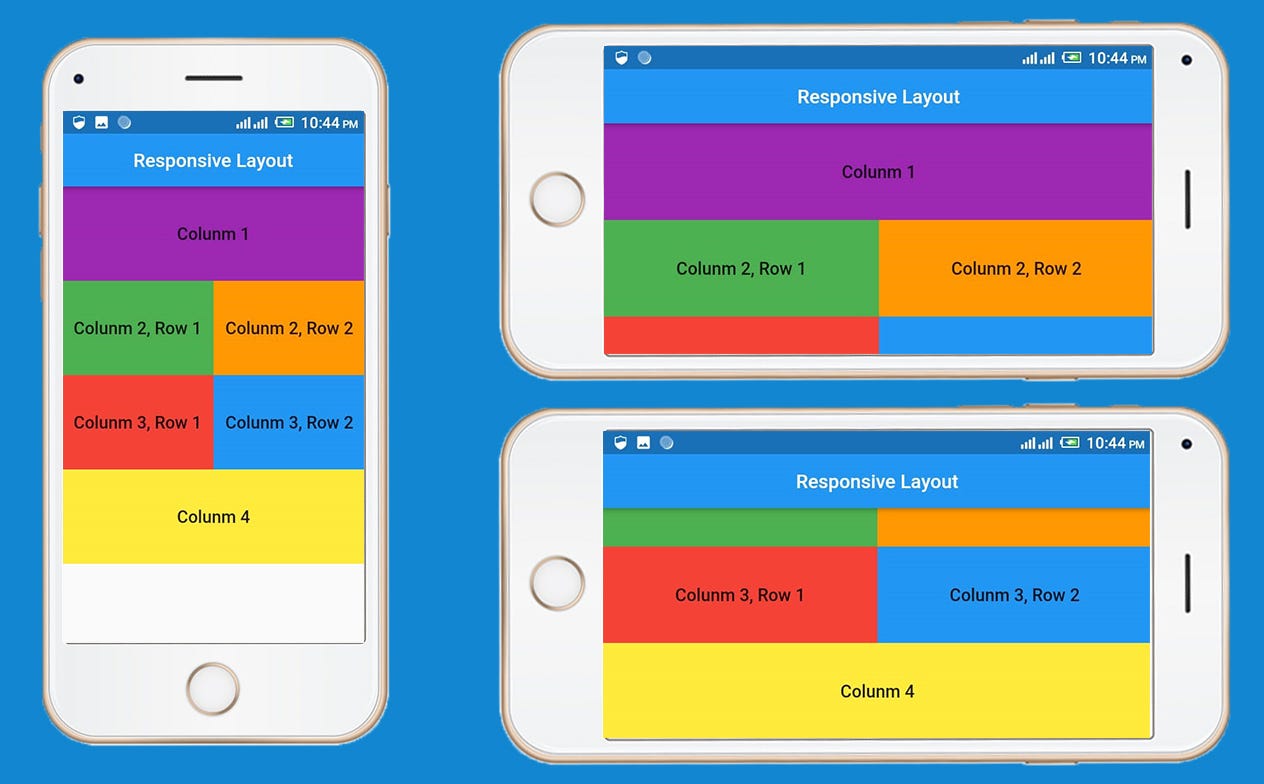
Let’s create a simple responsive app like this image below.
Let’s get started.
Create a new flutter project using Visual Studio, IntelliJ or Android studio.
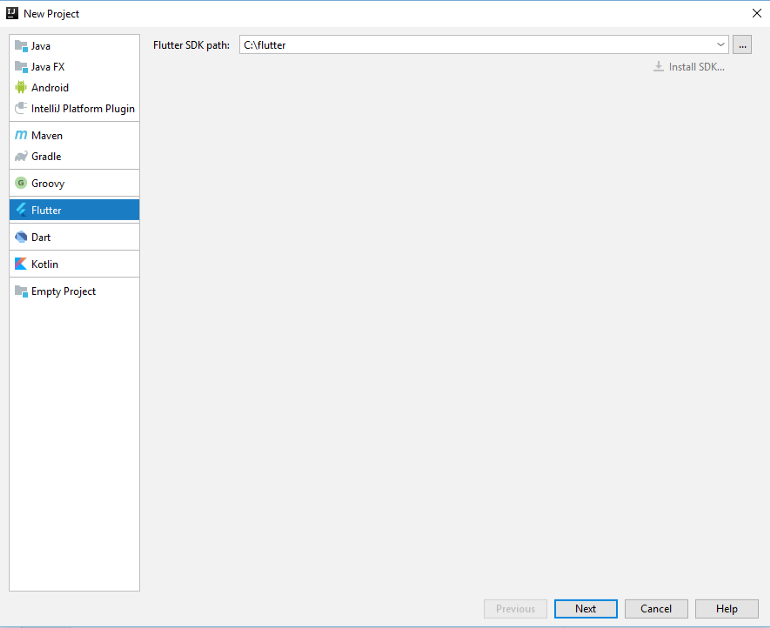
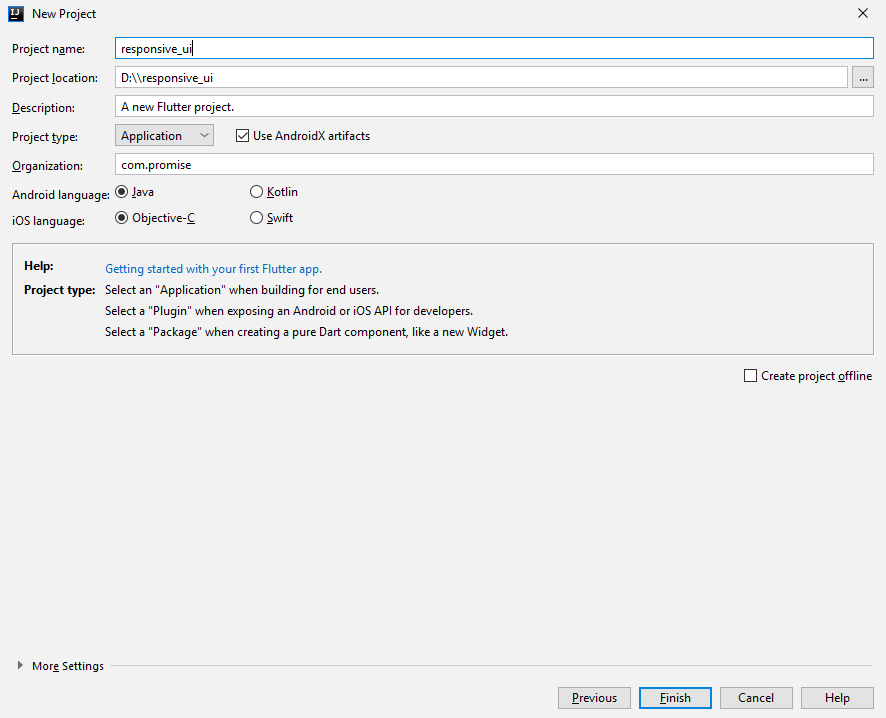
If you have IntelliJ installed on your computer, click: File>>New>>Project, Select Flutter and click “Next”
see image below
Enter the project name and click “Finish”
Open “pubspec.yaml”, and install a responsive grid package.
dependencies:
  **responsive_grid: ^1.0.1**</span>
open your “main.dart”, add this dart code:
Run your app on your smartphone or emulator.
Congratulations!!
You have built your first responsive flutter app that adapts to different screen sizes and orientations.
P.S. Here is the source code for the project you just worked on.
My name is Promise Amadi. I am a writer and Flutter Developer. I work with startups across the globe to build mobile solutions using Flutter.
To get regular updates and happenings from the world of Flutter, and mobile development, follow me onTwitter, Facebook, Linkedin, and Github.
If you found this article helpful and educating, please hit the like button and also share with your friends.