

Hello everyone, I'm honoured to have you here…
In this article, you will learn how to build a Github app from scratch using Flutter and GraphQL.
Brief Introduction of GraphQL
GraphQL is a query language that allows developers to create queries that will be executing on the server.
It was developed internally by Facebook in 2012 before being publicly released in 2015.
Ever since then, the query language has been adopted by major organizations, like Airbnb, Atlassian, Audi, CNBC, GitHub, Major League Soccer, Netflix, Shopify, The New York Times, Twitter, Pinterest.
So, let's start
Create your flutter app using Visual Studio, IntelliJ or Android Studio, then open "pubspec.yaml" file, and install the following packages.
dependencies:
  graphql_flutter: ^2.0.0
  http: ^0.12.0+2
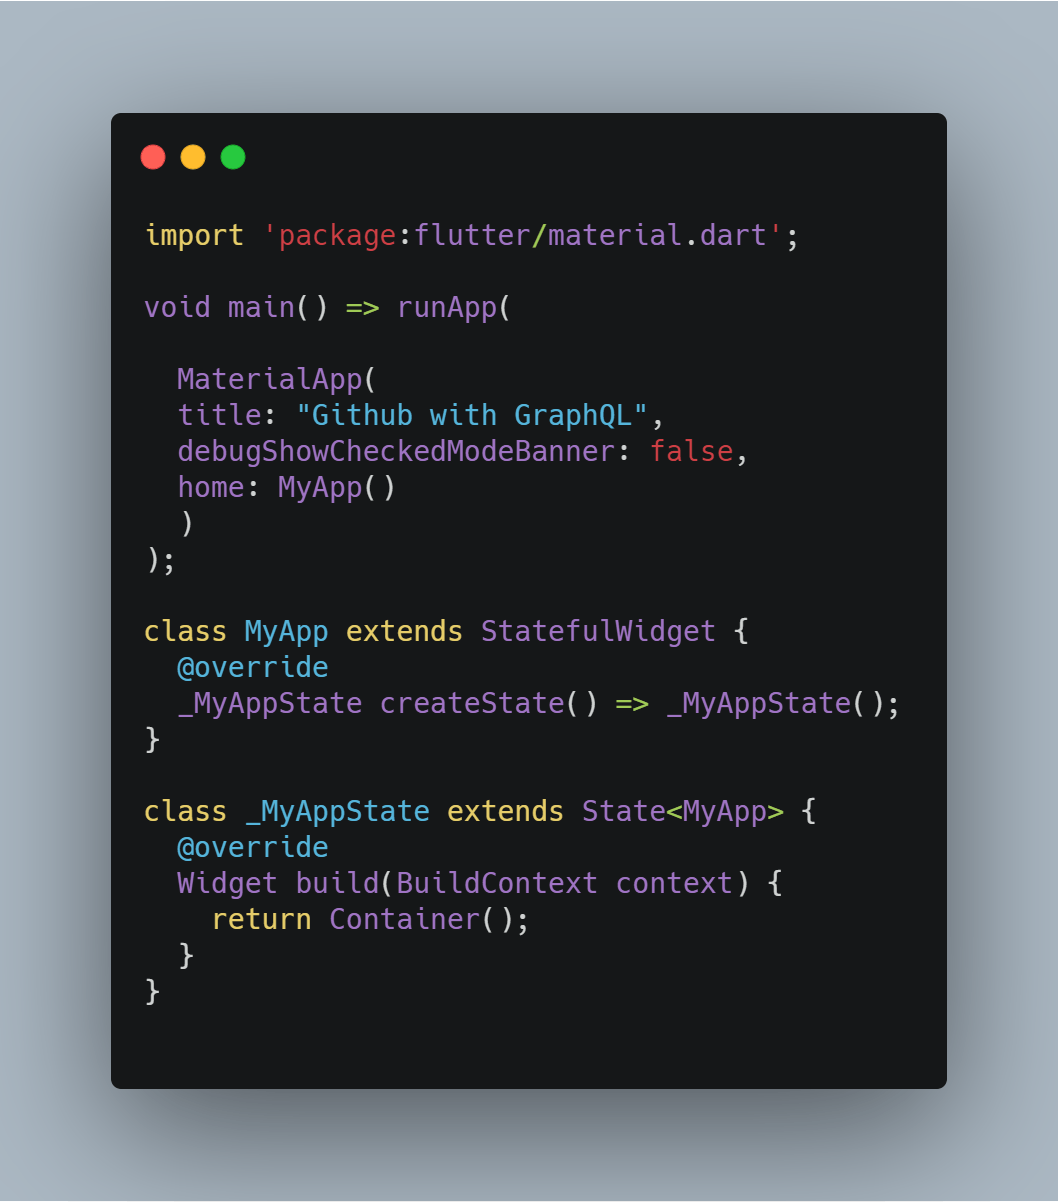
Open your main.dart file, and modify your source code to look like this image below:
You are going to generate your own Github personal access token, which you will use to communicate to the Github GraphQL server.
To create a Github personal access token, go to github.com
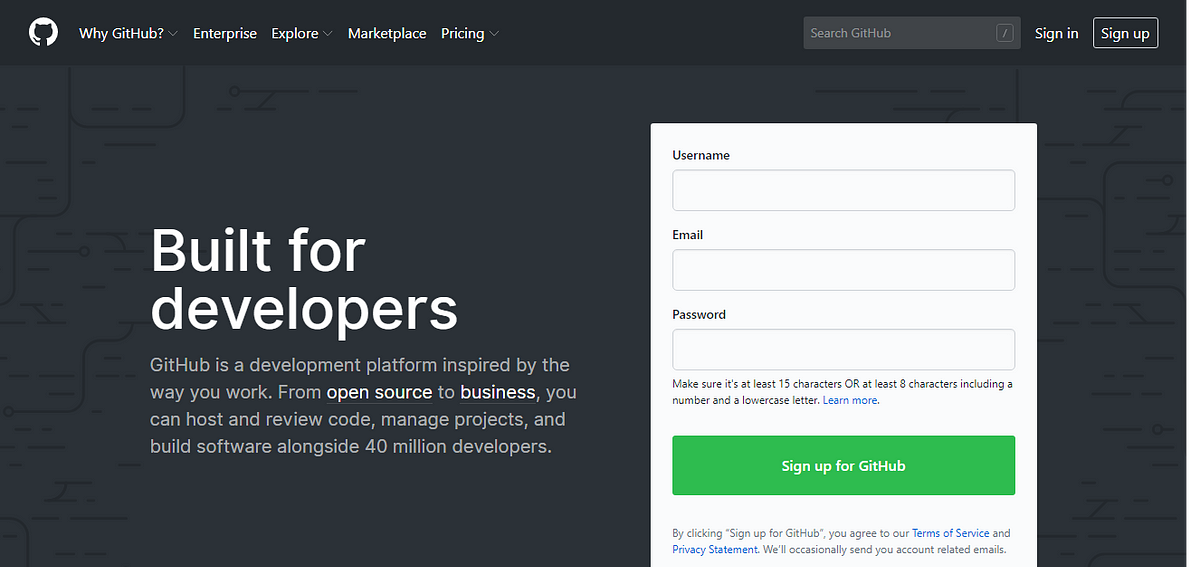
Sign up if you do not have an account but if you have an account Sign in.
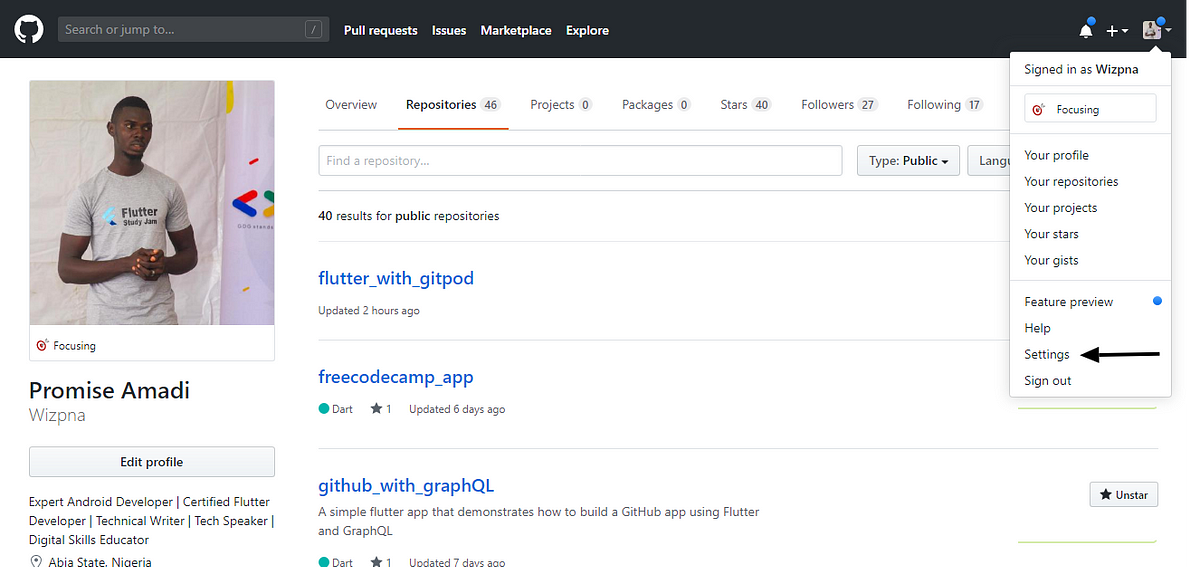
Once you have successfully signed in, in the upper-right corner of your Github page, click your profile photo, then select Settings.
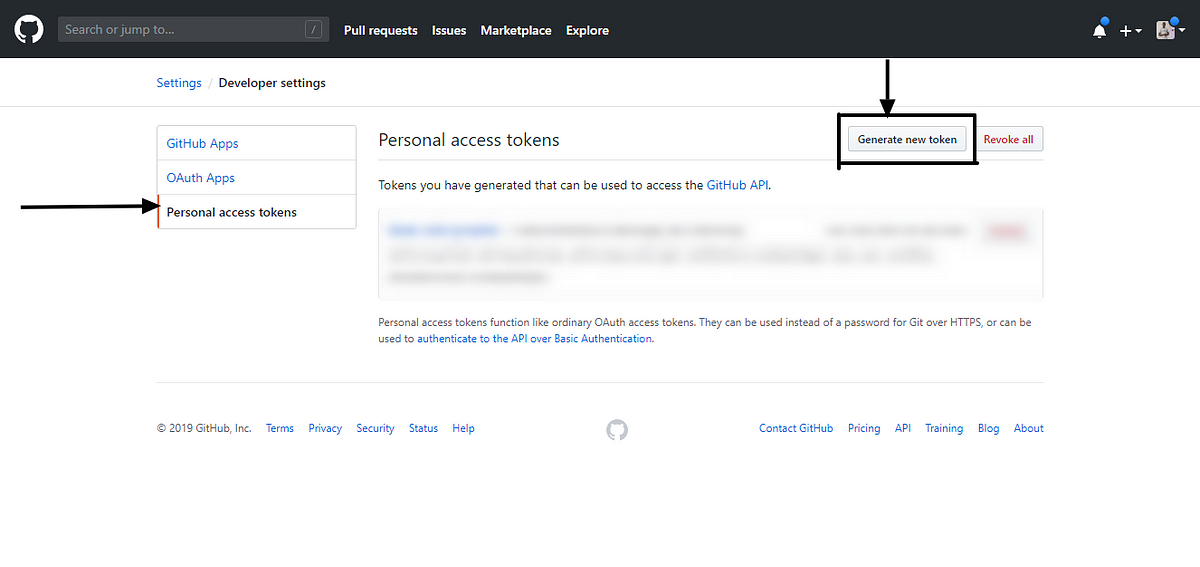
In the left sidebar, click on the "Developer settings" option.

In the left sidebar, click on "Personal access tokens", then click on "Generate new token" to generate a new token that you will use to access the Github API.
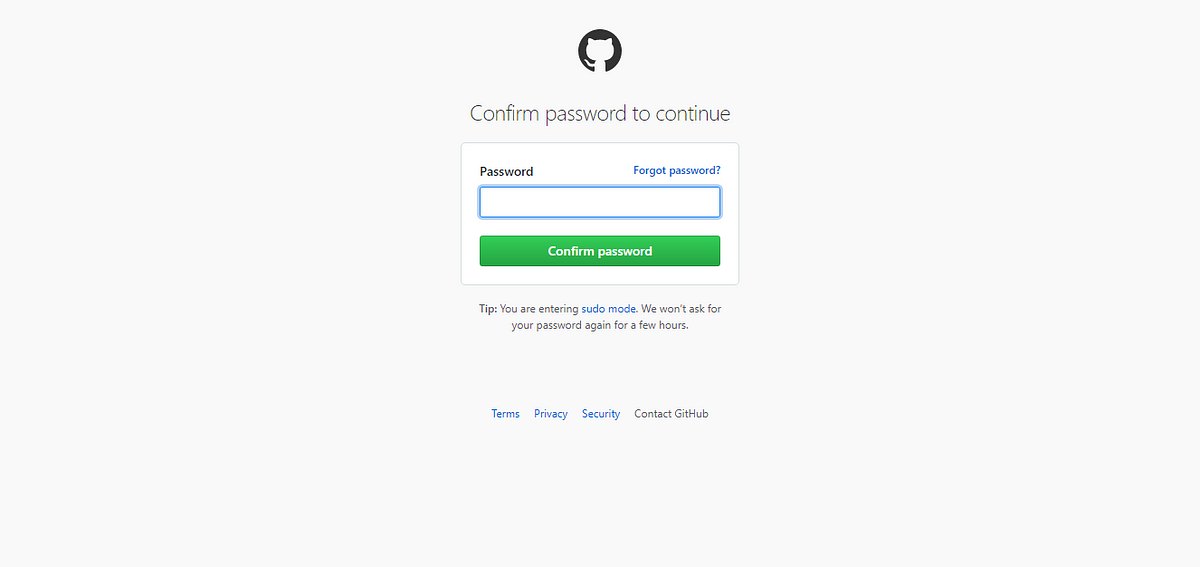
Before generating a new token, Github will request you to confirm your password.
You can name your token any name you wish, then under scopes, select all the user scopes.
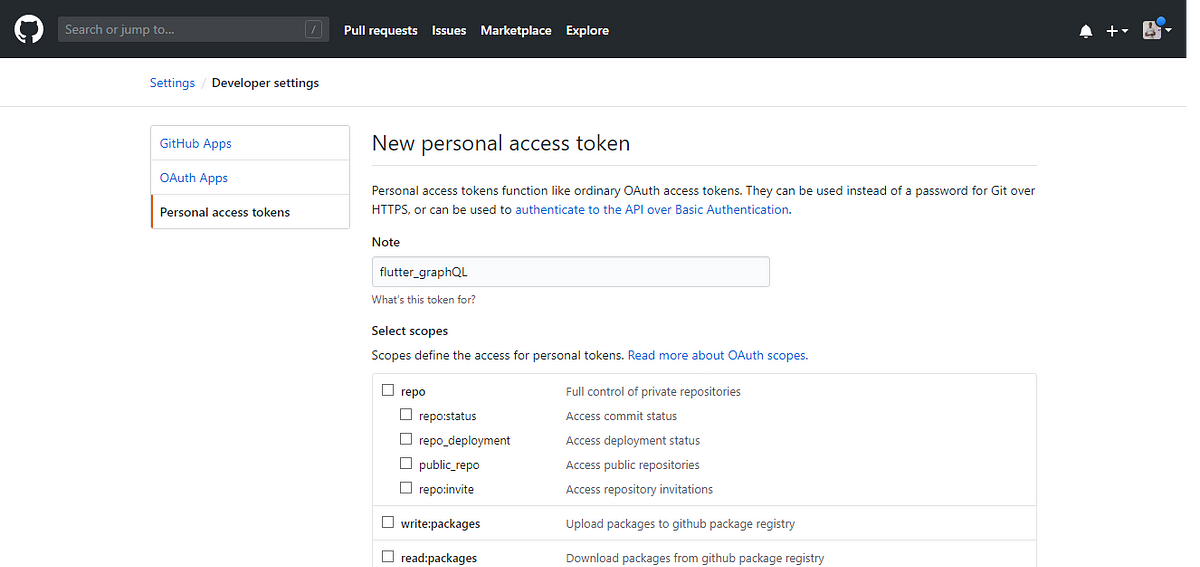
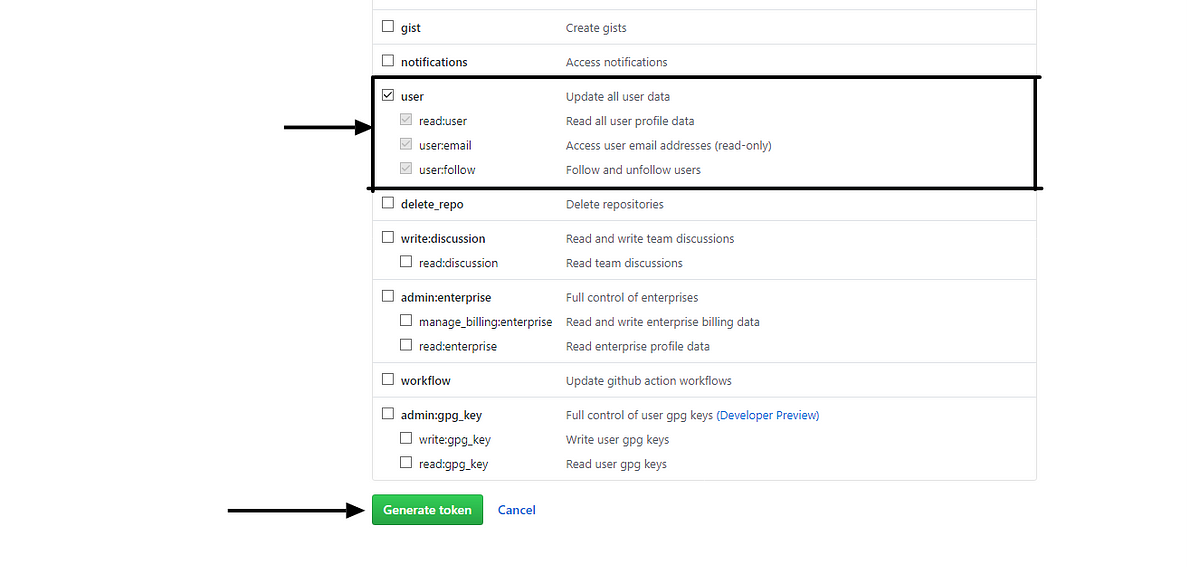
Click on "Generate token" to generate a new token which you will use to access the Github API.
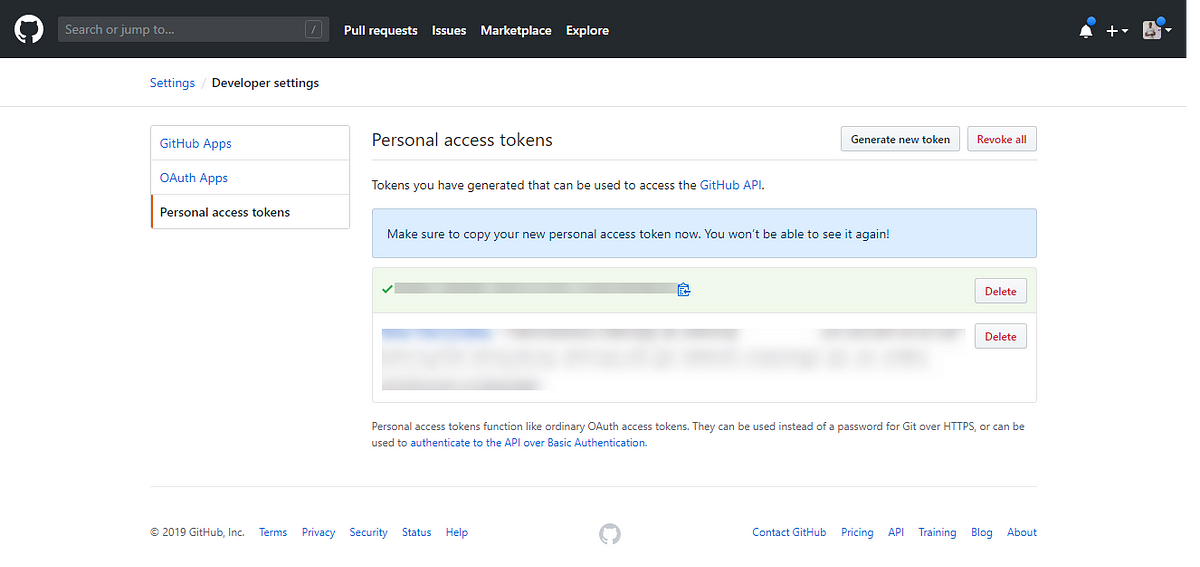
Please note: Once you navigate off the page, you will not be able to see the token again so you need to copy your personal access token and keep it secure.
Open your flutter project, modify your "MyApp" class to look like this image below:
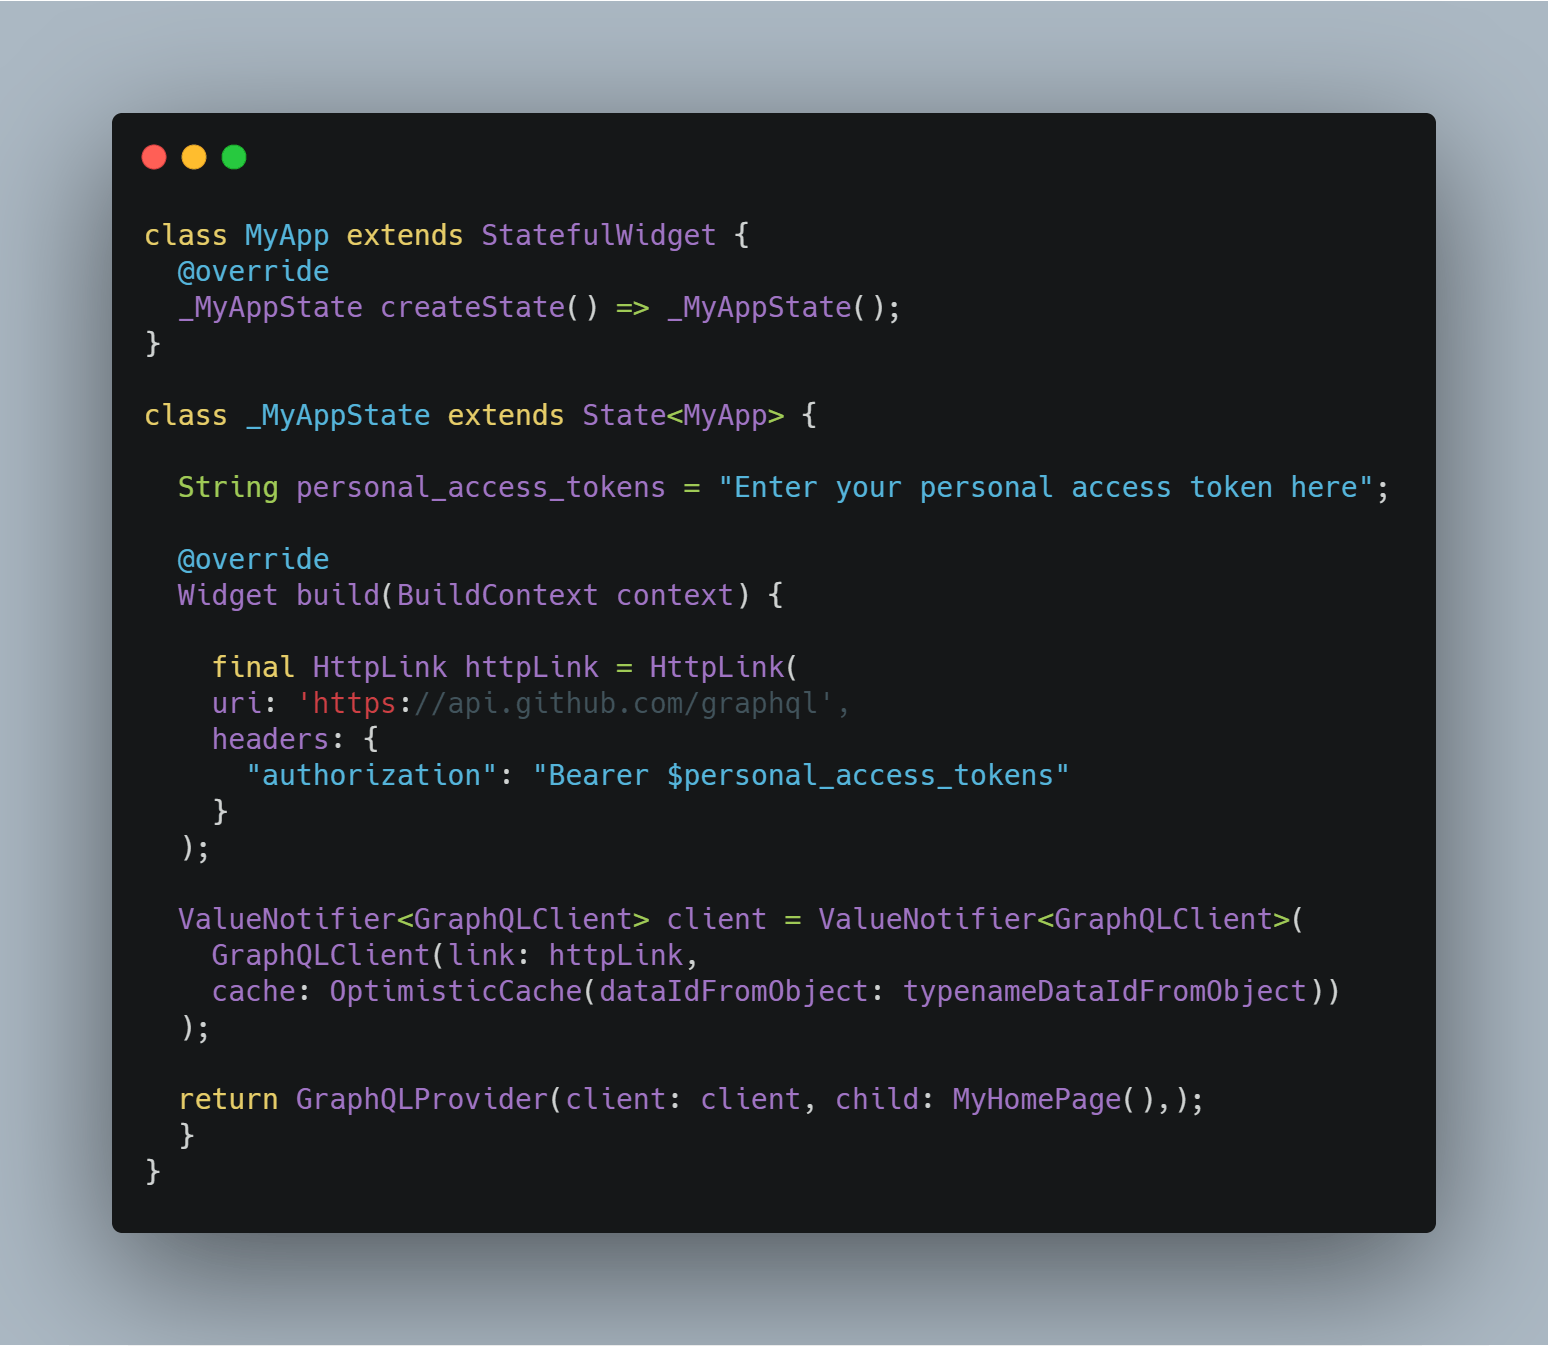
Explanation of the code above: The class you created, MyApp class has two main parts. The first one is the link to the Github graphQL API, and the second part is the ValueNotifier which will notify its listener when any kind of value changed.
Next, you are going to create another class which will be called, "MyHomePage", it will extend a Stateful widget.
Github's GraphQL API permits two types of operations, which are Query and Mutation.
GraphQL query request allows you to access data and read it.
GraphQL mutation request allows you to add, edit or delete data.
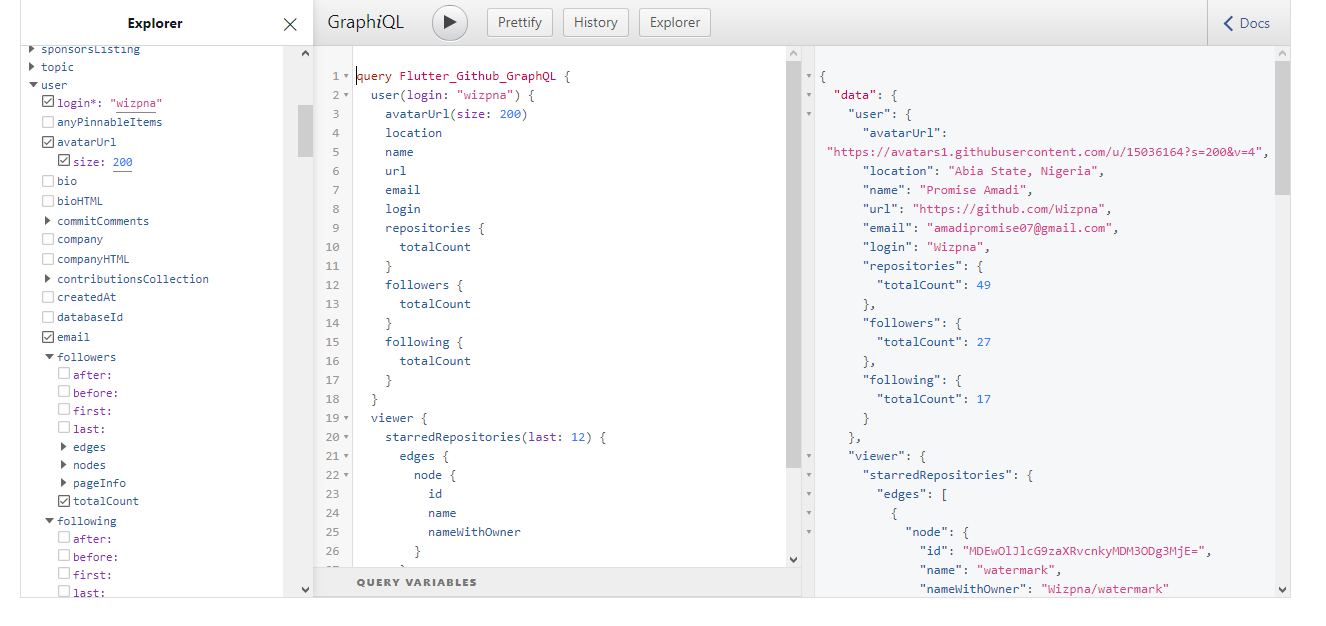
To perform queries on Github graphQL server, visit Github GraphQL Explorer
Github GraphQL Explorer can be described as a playground where you can interact and explore data added in the schemas.
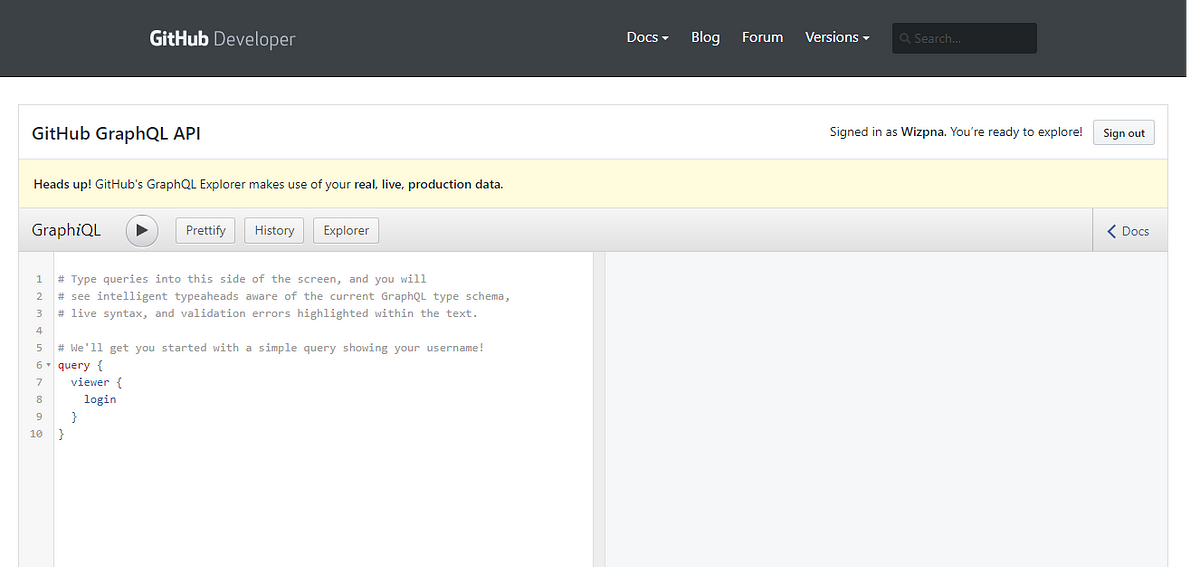
Note: To perform queries requests on the Github graphQL server you must Sign in.
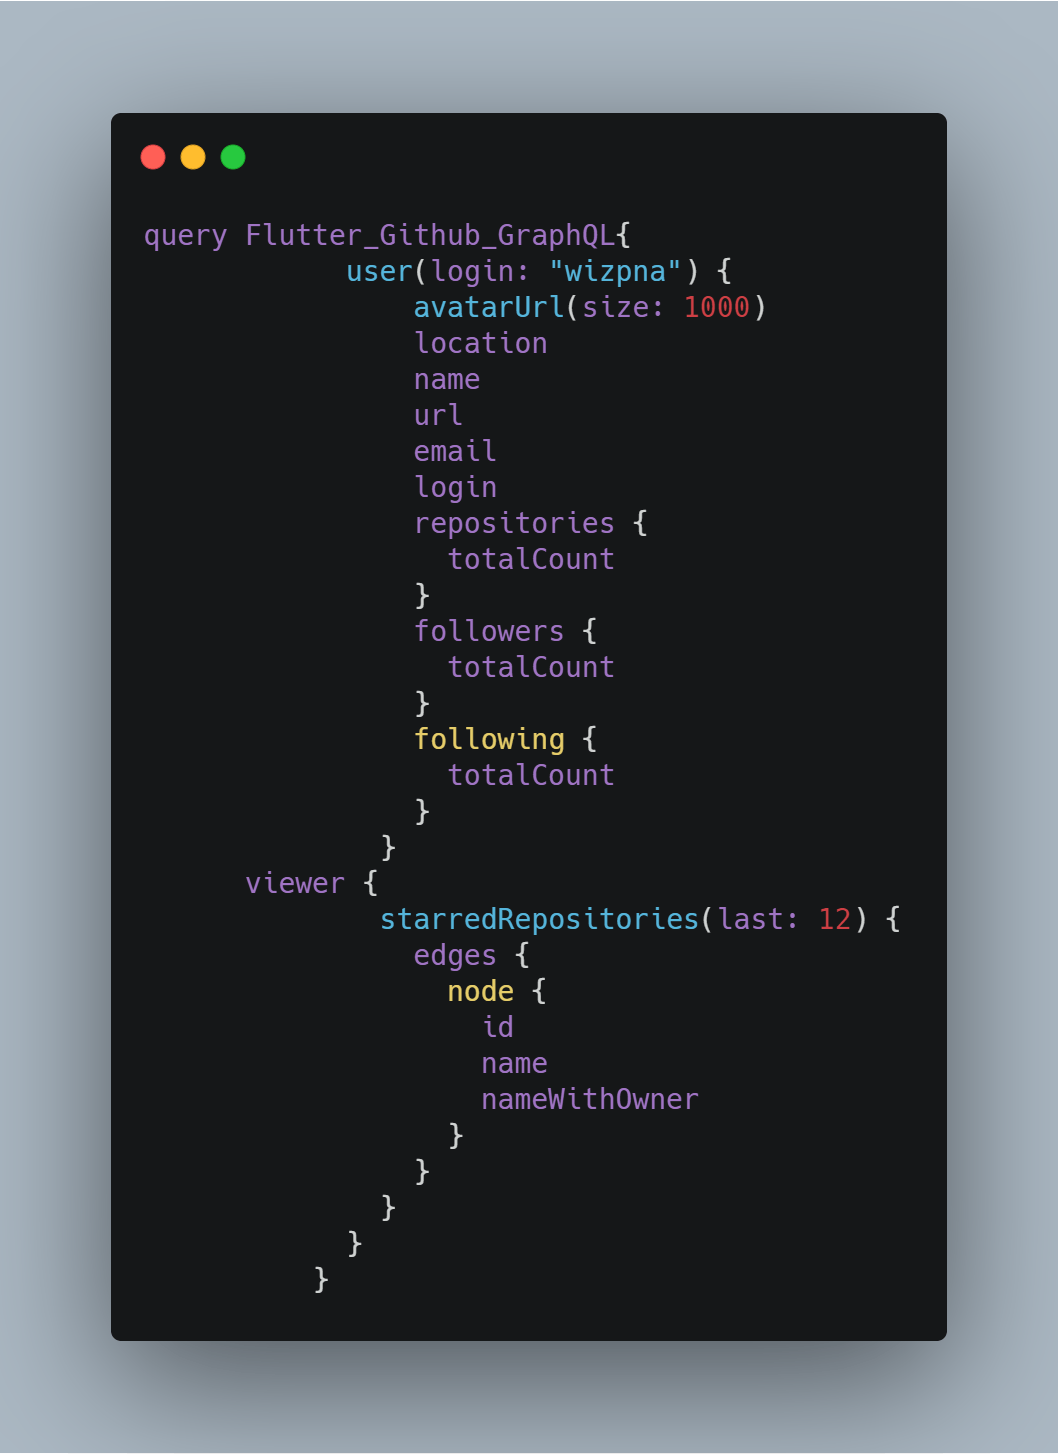
The image below contains all the queries request you are going to make on the Github graphQL explorer.
If you run the above queries on GitHub GraphQL Explorer, you will see this output below:
Final, you are going to modify your "MyHomePage" class.
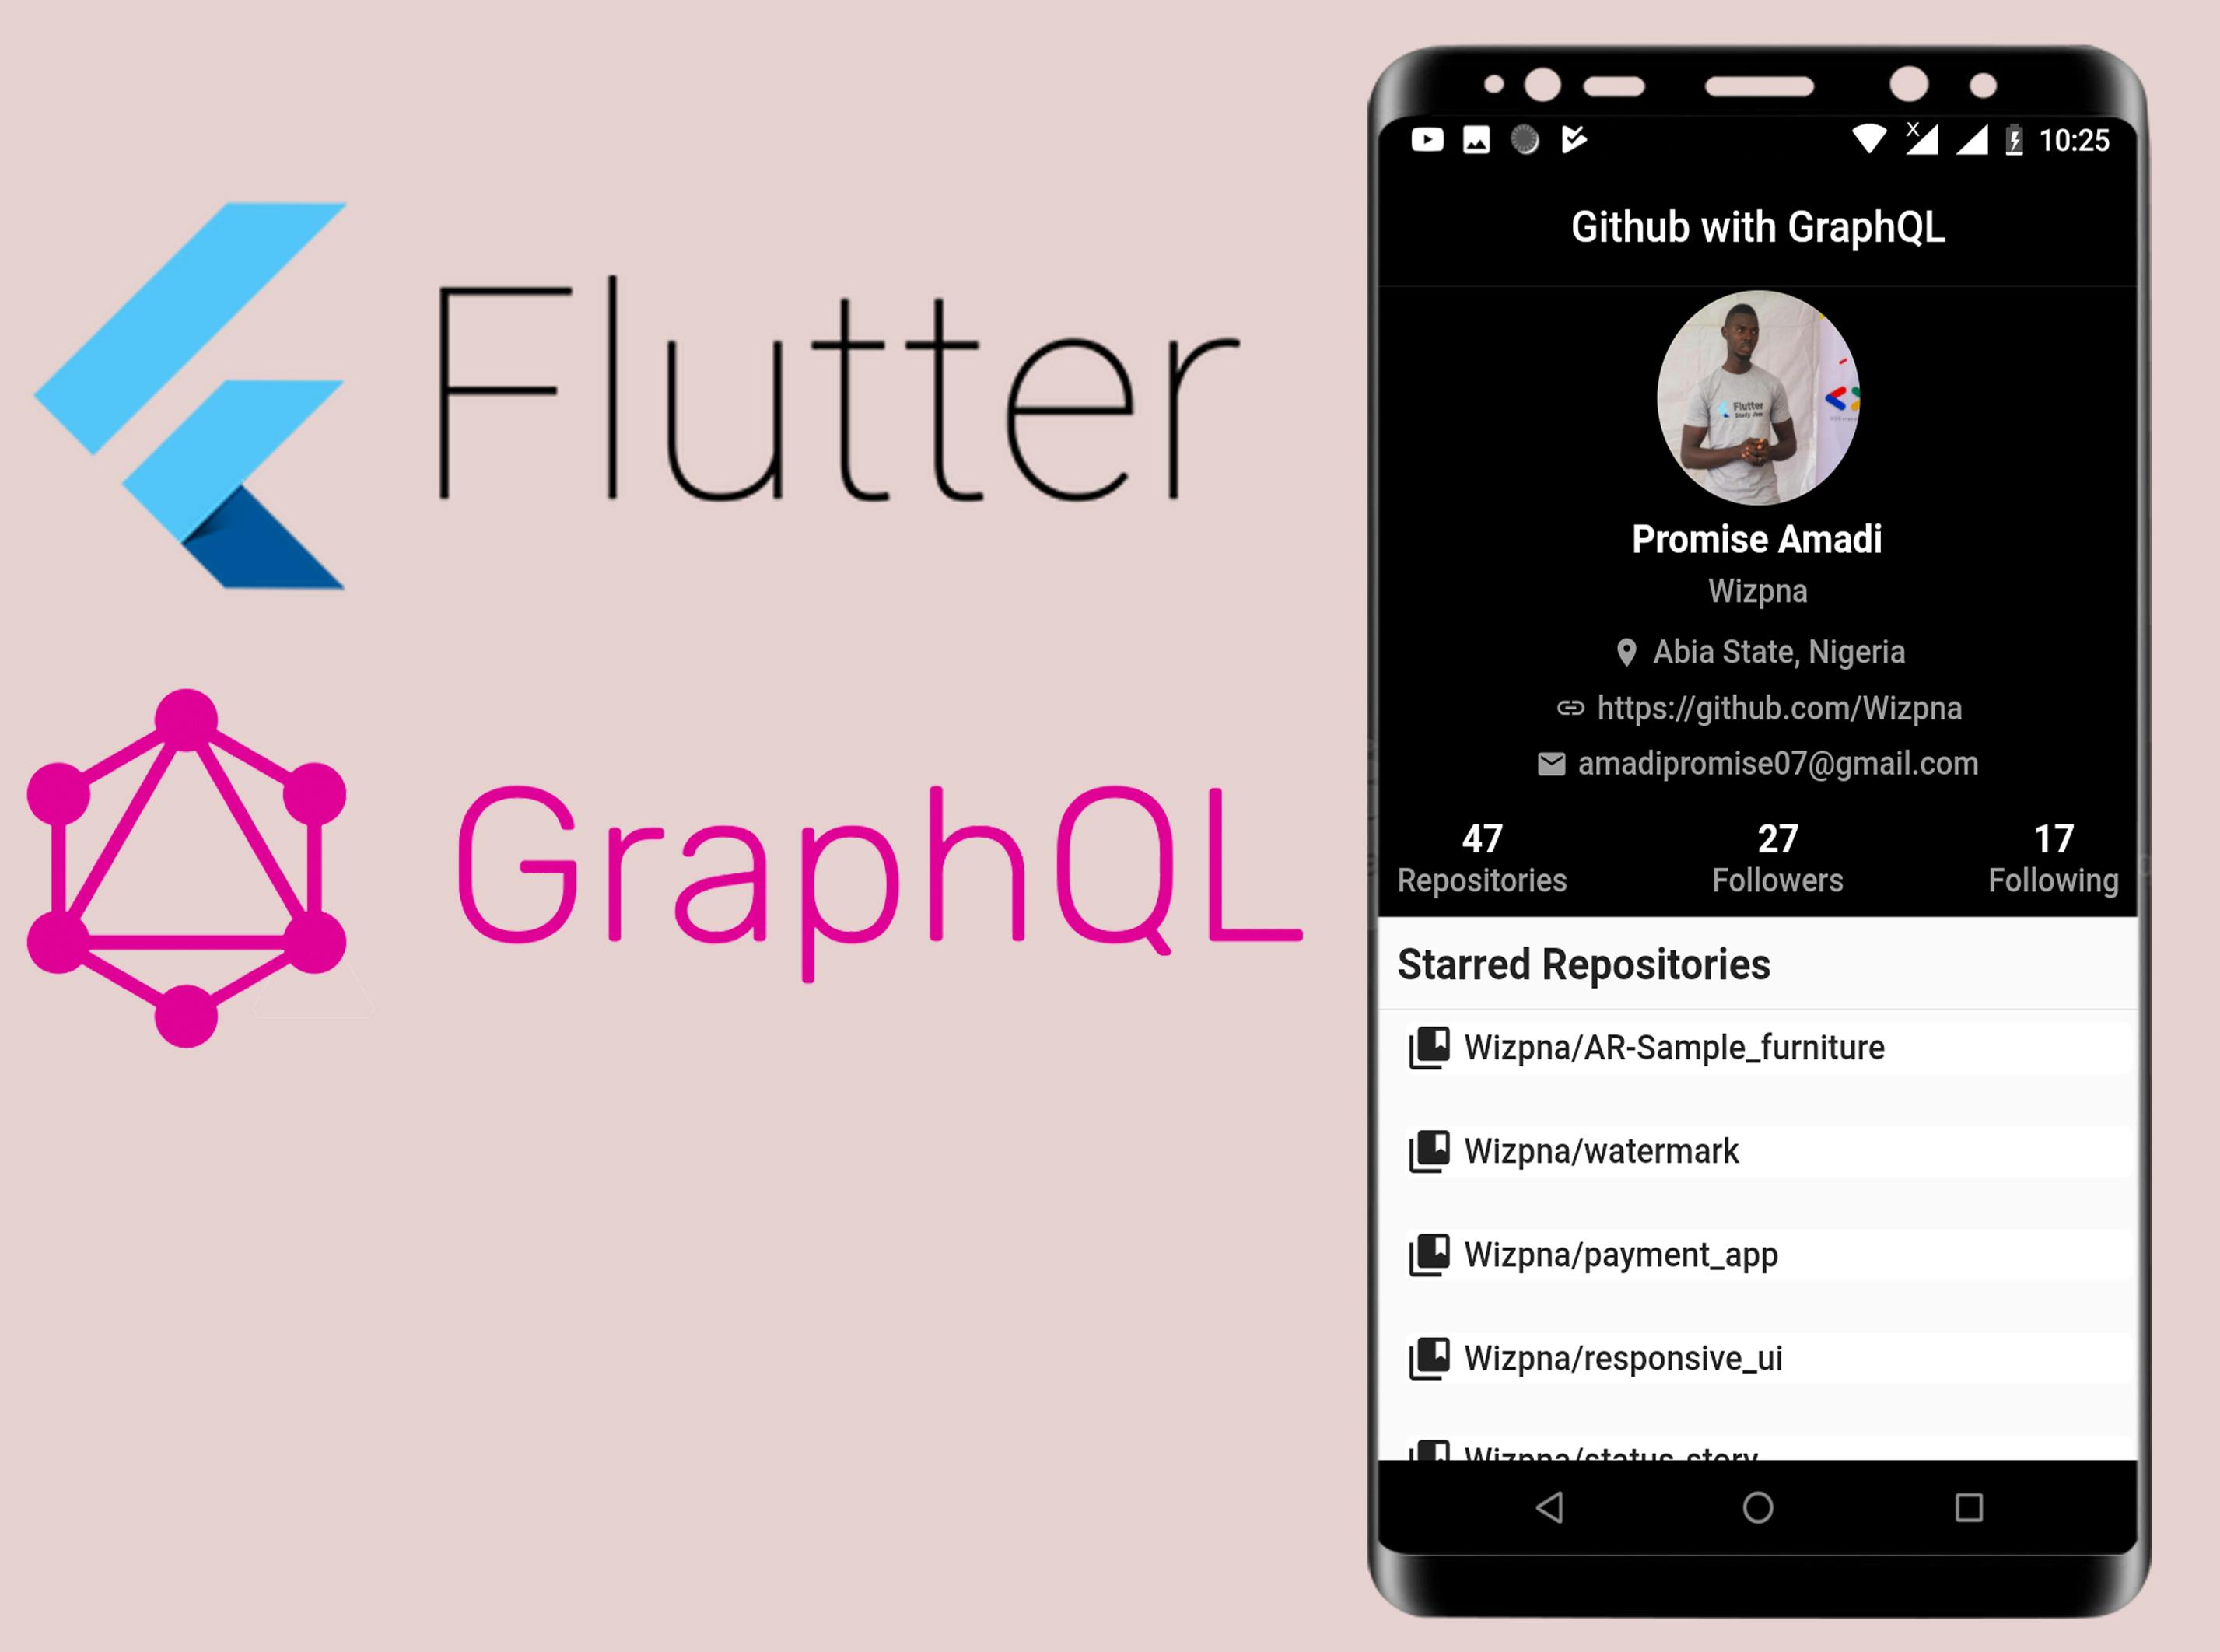
Test run your app using a physical device or an emulator.
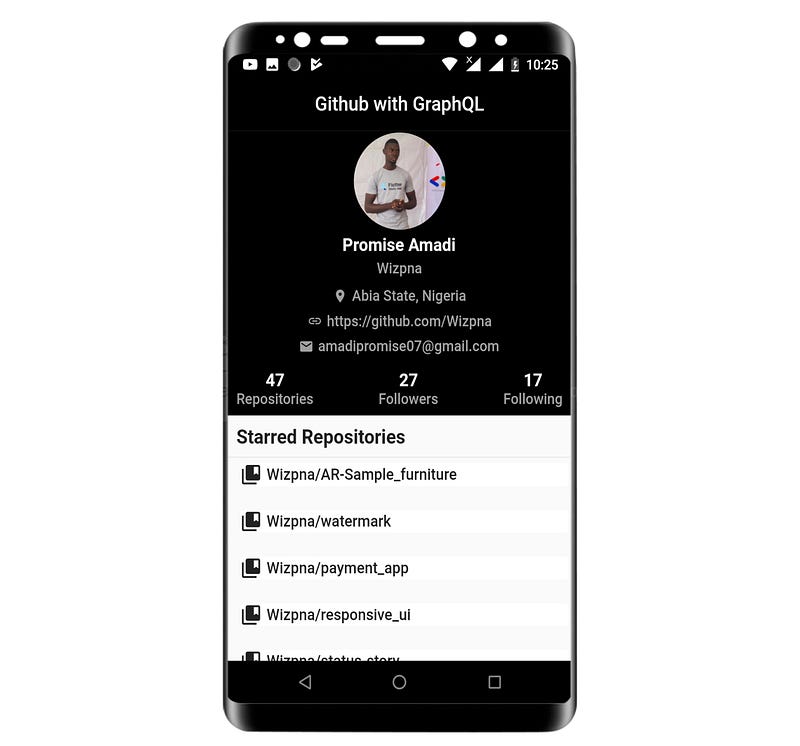
Congratulations!! you have built a GitHub App using Flutter and GraphQL.
P.S: Here is the source code for the project you just worked on. If you found this article helpful and educating, please hit the like button and also share it with your friends.
To get my latest updates and happenings from the world of Flutter, and mobile development, follow me on Twitter , Facebook , Linkedin , and Github.
My name is Promise Amadi. I am a writer and Flutter Developer. I work with startups across the globe to build mobile solutions using Flutter.